Man Of Many Builds – 1972 BMW 2002 (Part 2: The Strip)

Published:
Readtime: 5 min
Every product is carefully selected by our editors and experts. If you buy from a link, we may earn a commission. Learn more. For more information on how we test products, click here.
After unloading the body and parts boxes into the garage, it was time to do a stocktake. While I had a fair idea of the significant parts included in the sale, there were still lots of small bags and boxes I still needed to uncover. While most of the gear was weathered and not relevant to my build, there were some absolute gems discovered:
- New engine bolt set for the M10
- New front and rear subframe bolt sets
- Two sets of original headlights and taillights
- Front and rear seats
- Spare doors
I immediately sold a few bits and bobs that I wasn’t going to use, which raised some much-needed funds and cleared up some space in my ” pushing your luck” allocation of the garage
RELATED: Man of Many Builds – 1972 BMW 2002 (Part 1: The Hunt)
The Bodyshop
With the spare parts itemised and stored away, it was time to get started on the body. From the outset, it was clear that the body would require some rust to be cut out, and while I knew rust was essentially cancer for cars, diagnosing and comprehending how far to take rust removal was well beyond my knowledge. After reading a lot of restoration guides and lurking on car forums, it was clear that I needed to engage a reputable body shop to give the project a solid foundation.
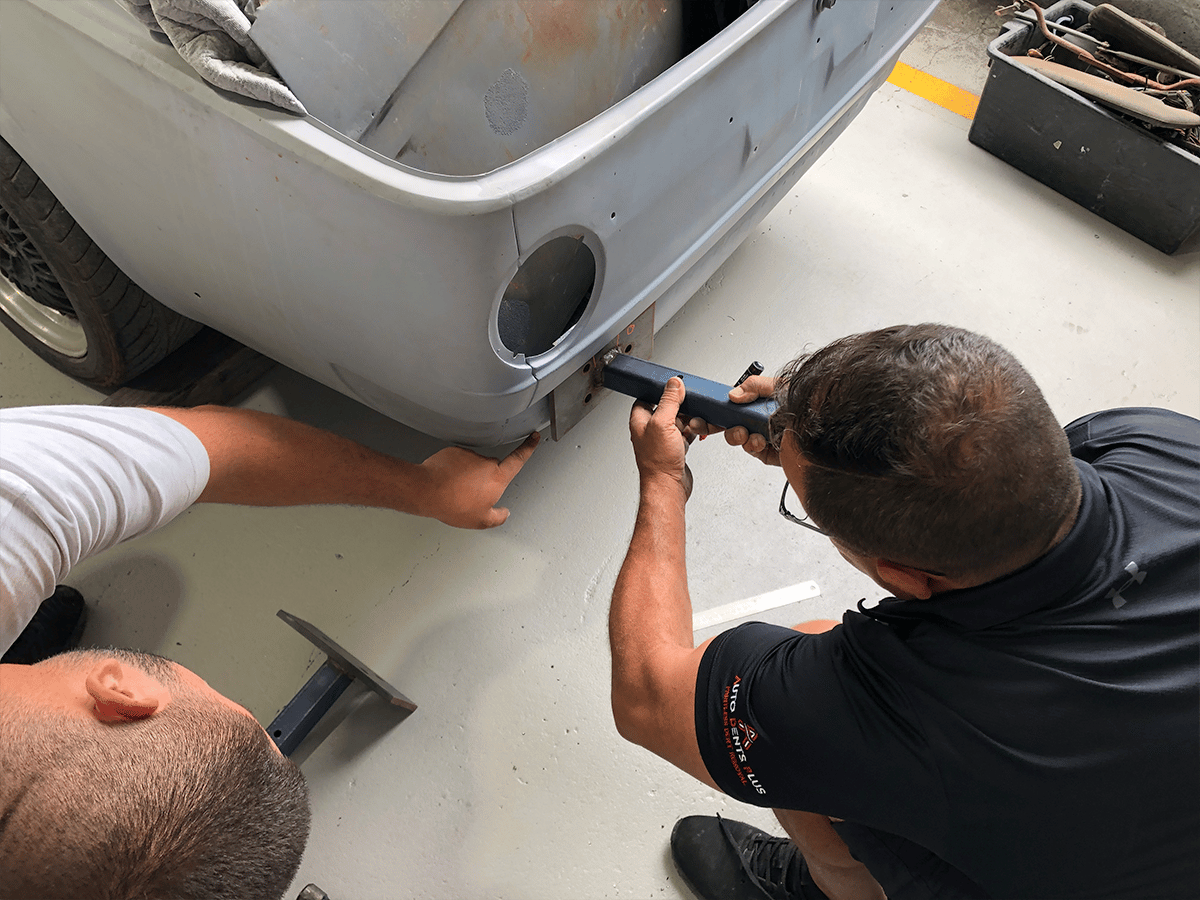
As I wanted to be able to work with a body shop as much as I could, I knew that I needed someone in Sydney that was experienced enough that they know how to work with metal and fabrication while being approachable enough that I could drop in and do some of the more mundane tasks myself. Admittedly, I was looking for a bit of a unicorn, but after many phone calls and DM’s, I stumbled upon a gem in Mascot called T&G Unique Bodyworks.
T&G is owned by two brothers (Tony and Goodie) who have been in the business for over 30 years and started their trade in both mechanical and panel beating/painting. When I first spoke to Tony, he had just finished building his own custom Holden Torana which consisted of so much custom fabrication it required over 200?? hours to build the car.
Not only did this give me a chance to acknowledge how good their craftsmanship was, but it also opened my eyes to the vast differences between restorations that appear to be done well and ones that actually are. Or as Tony tells me: ” There’s plenty of mudguards out there… Shiny on the outside and S*#T underneath “.
In the end, these were the key reasons I went with T&G Unique Bodyworks:
- Brothers that have been in the industry for over thirty years with a wealth of knowledge in mechanical, panel beating and painting.
- Excellent word-of-mouth reputation.
- An immaculate workshop (A clean workshop is an excellent indicator of the quality of work).
- Work held to high standards.
- We agreed to a rate of $100 per hour, with all work being documented on a day-to-day basis.
Disassembly
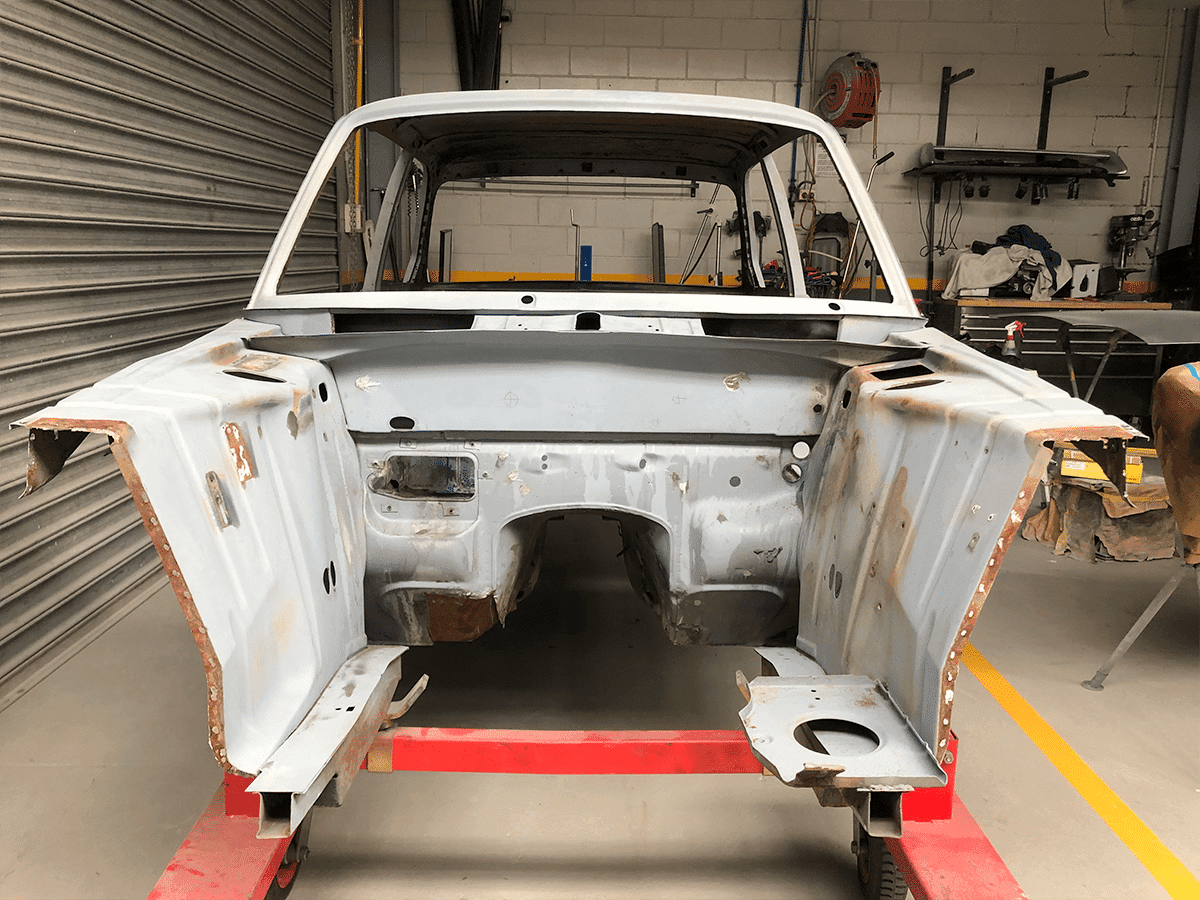
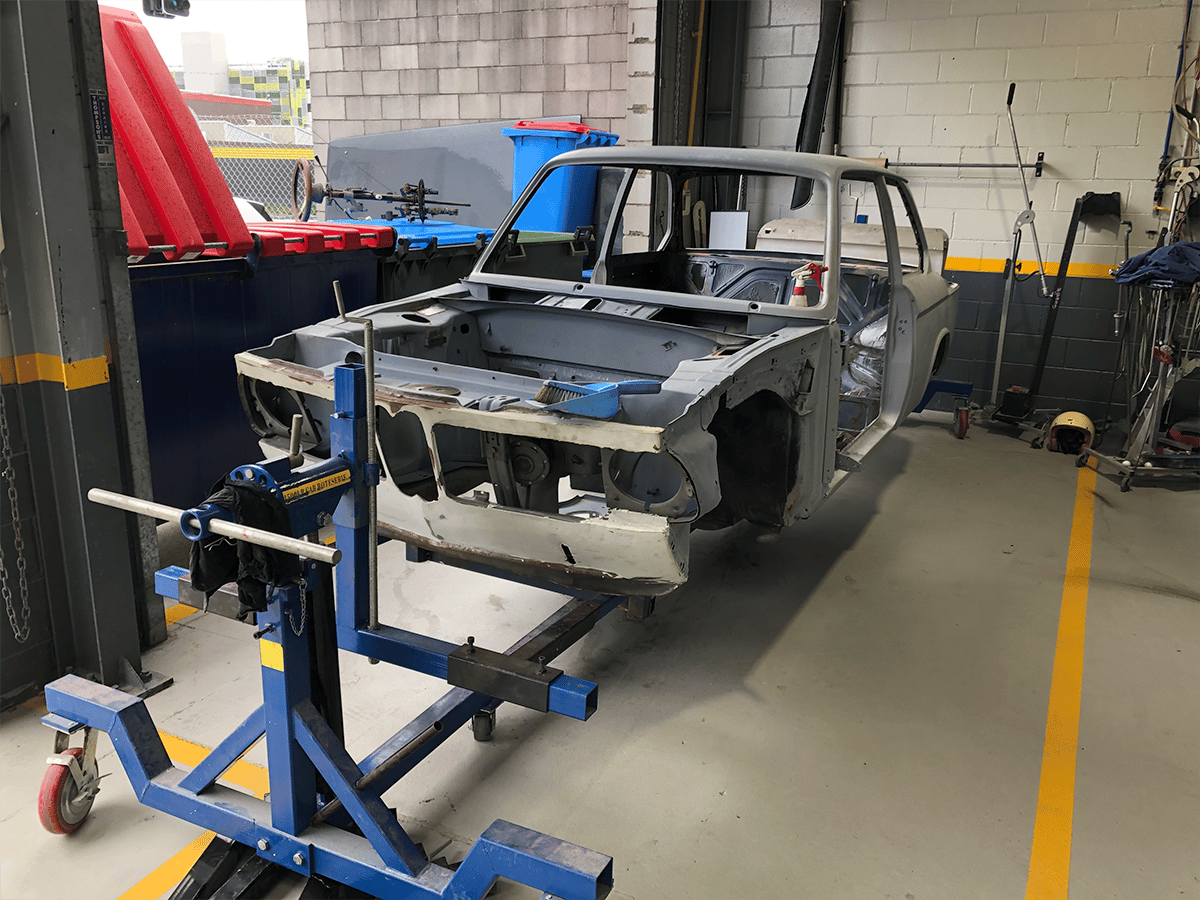
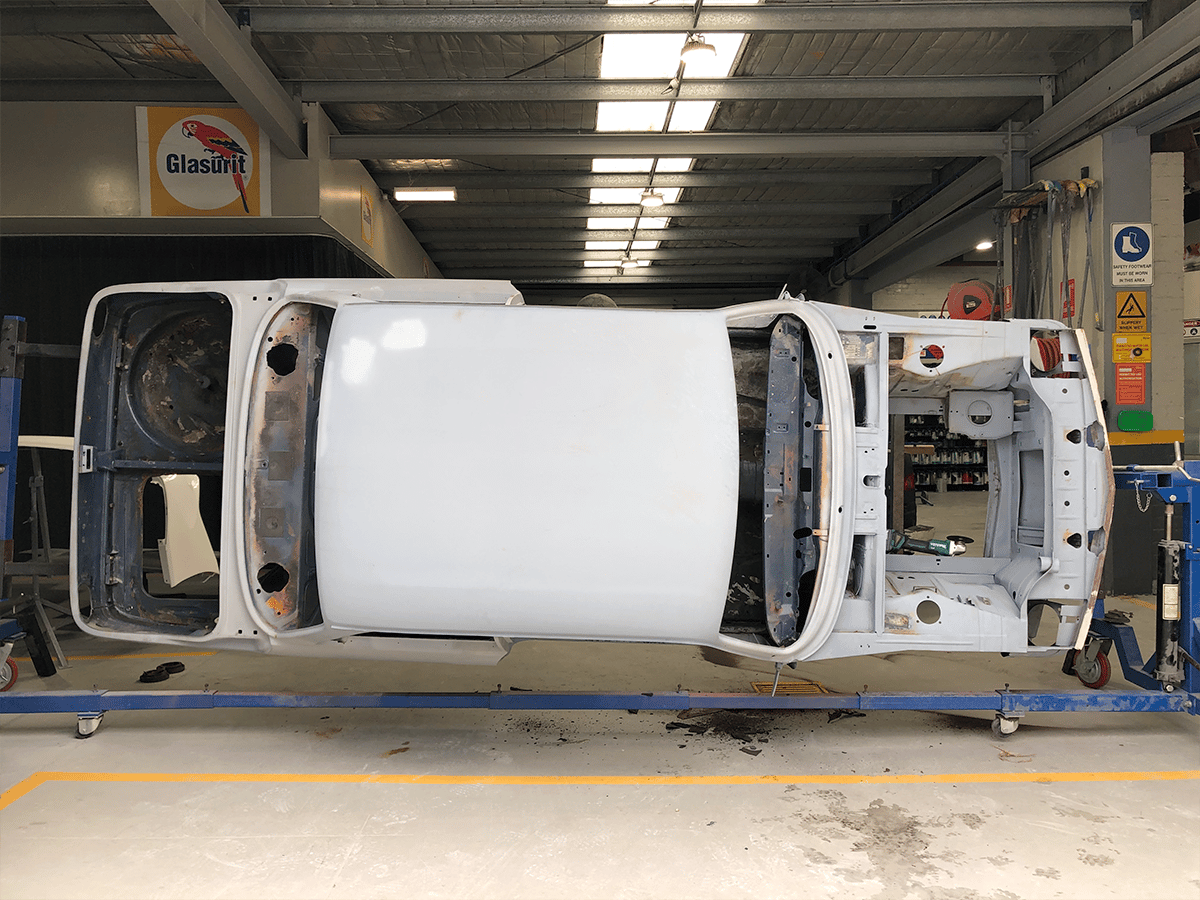
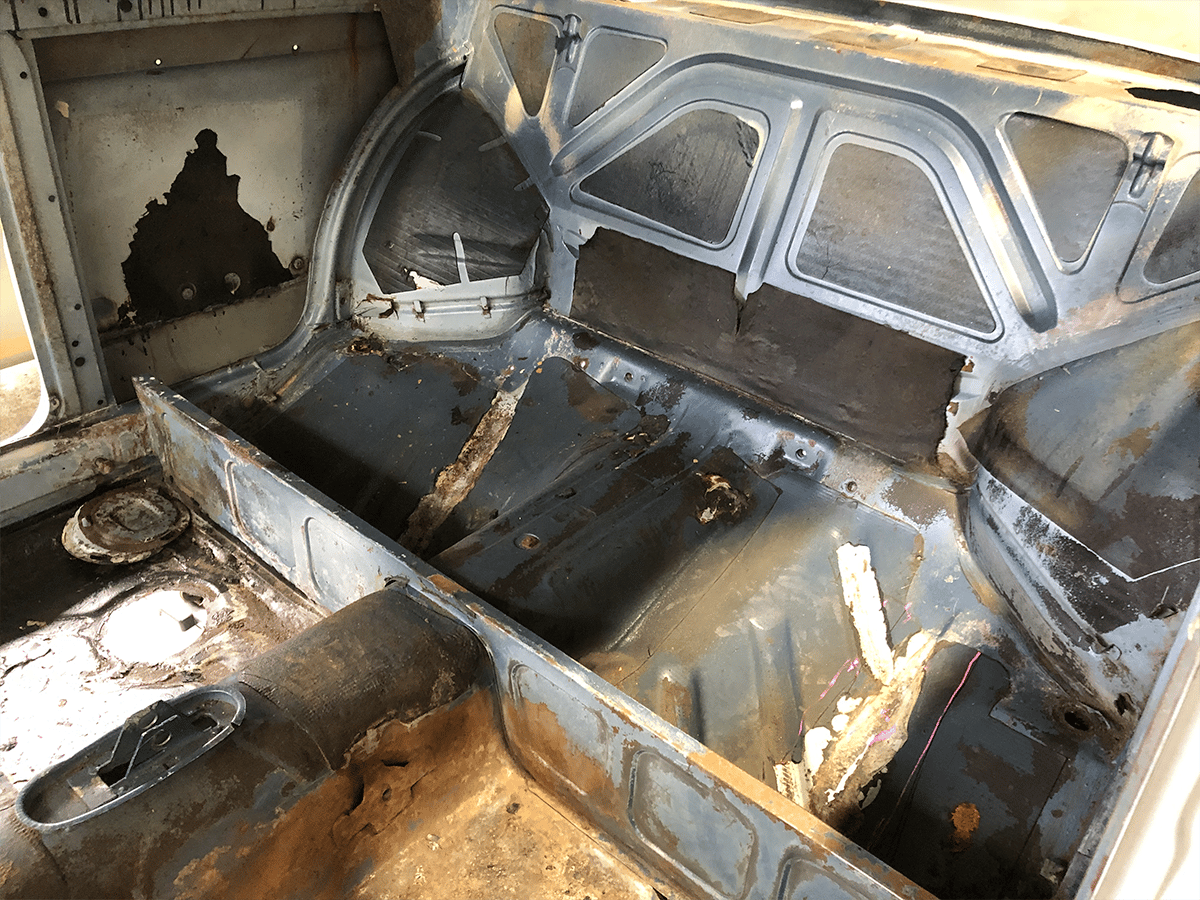
With Tony’s Torana away getting its engine built, his old Rotisserie was there for the taking. So, after removing my subframes, fuel line, and various bits and pieces, we had the little German coupe mounted like a woollies chook. While my initial rust assessment wasn’t as bad as I thought, it only took Tony a few minutes to extinguish my embers of optimism. ” Rust… Rust… Look here, Justin… Rust “… Tony identified various places where rust would need to be cut out and even went as far as saying that the nose ” wasn’t worth fixing for the hours that would be required “. So, with that devastating synopsis, I began removing the wiring harness and any nick knacks from the body, and before I had to time to blink, the boys started surgery.
Major parts cut out:
- Front Nose
- Firewall Brace
- Spare wheel well
- Drivers side floor pan
With the body now resembling one of my old Hotwheels cars that had been left outside for a decade, it was time to make some big decisions on stripping the body back to bare metal.
Sandblast or Acid Dip?
There were only two sensible options: Sandblast or Acid Dip. Sandblasting was the more affordable option (roughly $1000 for the entire body), but when Tony had his Torana blasted, he said half his body got washed down the drain. As the 2002 looked fragile in places and delicate in others, I was reluctant to expose the little German to such an abrasive process that didn’t necessarily get into all the nooks and crannies.
So, I did a deep dive into the world of acid Dipping. Essentially, dipping the body in acid has a chemical reaction that releases paint compounds and neutralises surface rust. After a long soak (weeks at a time), you can then pressure wash the body. Once the body looks spick and span, it’s then dunked in a neutralising solution, which gives the body its best chance moving forward to prevent the cancerous rust from spreading.
As Sydney only had one vehicle dipping facility at the time I was looking, Redistrip in Blacktown was it. So, with a 6-month waitlist and a $4000 quote to work towards, I dropped off the body and began saving my pennies.
Stay tuned for Part 3: The Dip











Comments
We love hearing from you. or to leave a comment.