Published:
Readtime: 4 min
Every product is carefully selected by our editors and experts. If you buy from a link, we may earn a commission. Learn more. For more information on how we test products, click here.
There’s a certain enchantment that comes with a beautifully presented, succulent piece of carved meat on a plate. The way the slices are expertly arranged, each piece glistening with juices, is a testament to the skill and precision of the carver. Whether you’re preparing a holiday feast, hosting a dinner party, or just aiming to elevate your culinary prowess, the art of meat carving is an essential skill to acquire. In this comprehensive guide, we’ll walk you through the fundamentals of carving meat like a seasoned chef.
Allow the Meat to Sit for About 20 Minutes Before Carving
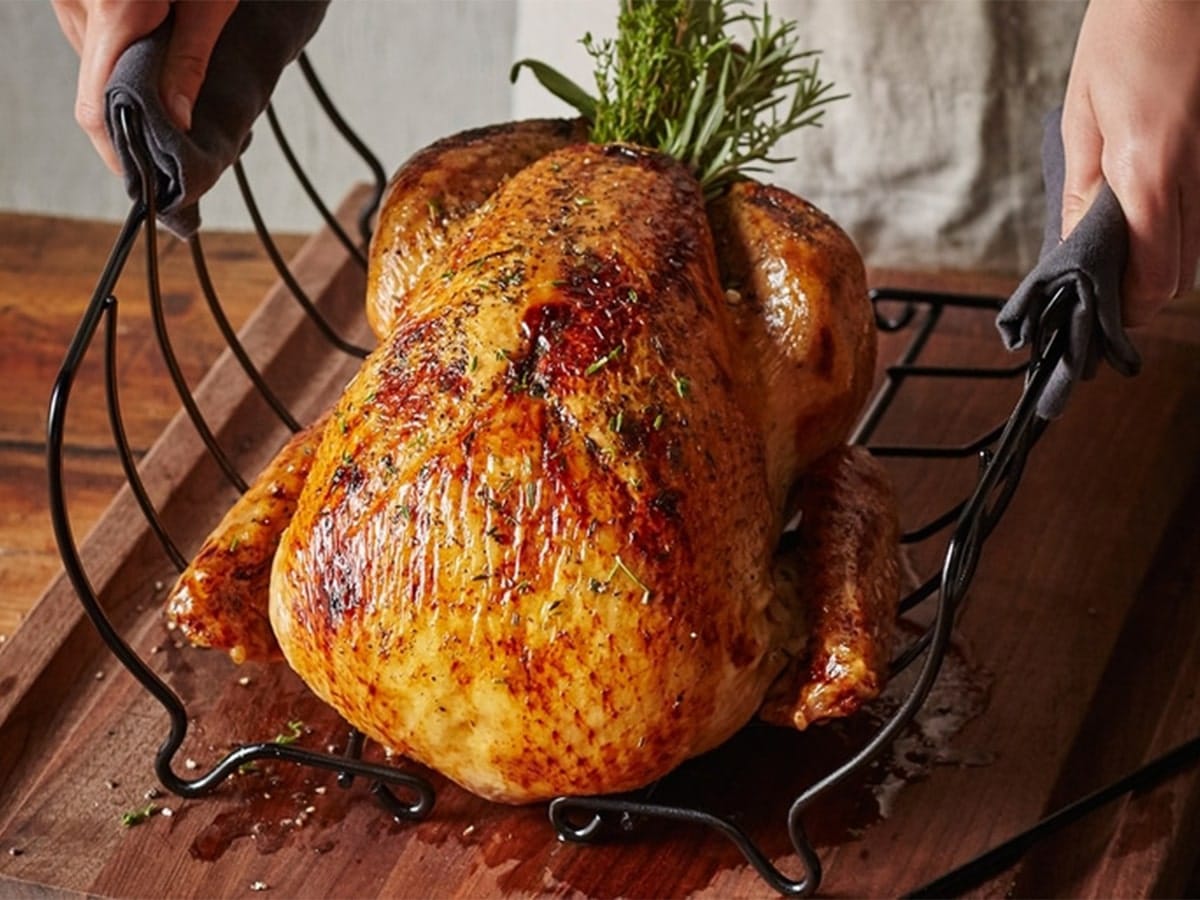
We know, we know. You’re so ravenous you could eat a horse. Meanwhile, a delicious whole turkey or beef roast just finished cooking in the oven. However, before you dig in, you should loosely cover the meat in foil and let it sit out for approximately 15-20 minutes. This is known as “stand time”, and it accomplishes a few things. For starters, stand time allows the temperature to keep rising and thereby finishes cooking the meat. It also redistributes the meat’s juices, resulting in better texture and taste. Because of the improved texture, stand time enables a smoother carving process as well.
Don’t use stand time to drive yourself crazy counting down the minutes until you can eat. Instead, focus on other duties around the kitchen. For instance, there might be some side dishes that you could whip together or finish making. Or maybe the kitchen counters need to be cleaned off. Or the dinner table could be set. There’s usually no shortage of tasks, and stand time is a great opportunity to complete them.

Prepare to Carve
If you’re carving in the kitchen, make sure you’re using a quality carving board with a well at one end at and a napkin or towel underneath it. The well is there to collect any juices and the napkin will prevent the board from shifting around. And remember that carving boards are for cooked meat only, not for preparing raw meat or slicing vegetables. If you’re carving at the table and serving the meat from a platter, you should still carve the meat on a cutting board first so as not to scratch your dinnerware. When carving at the table, you should also place the carving board on top of a baking sheet to collect the juices.

How to Properly Carve Meat
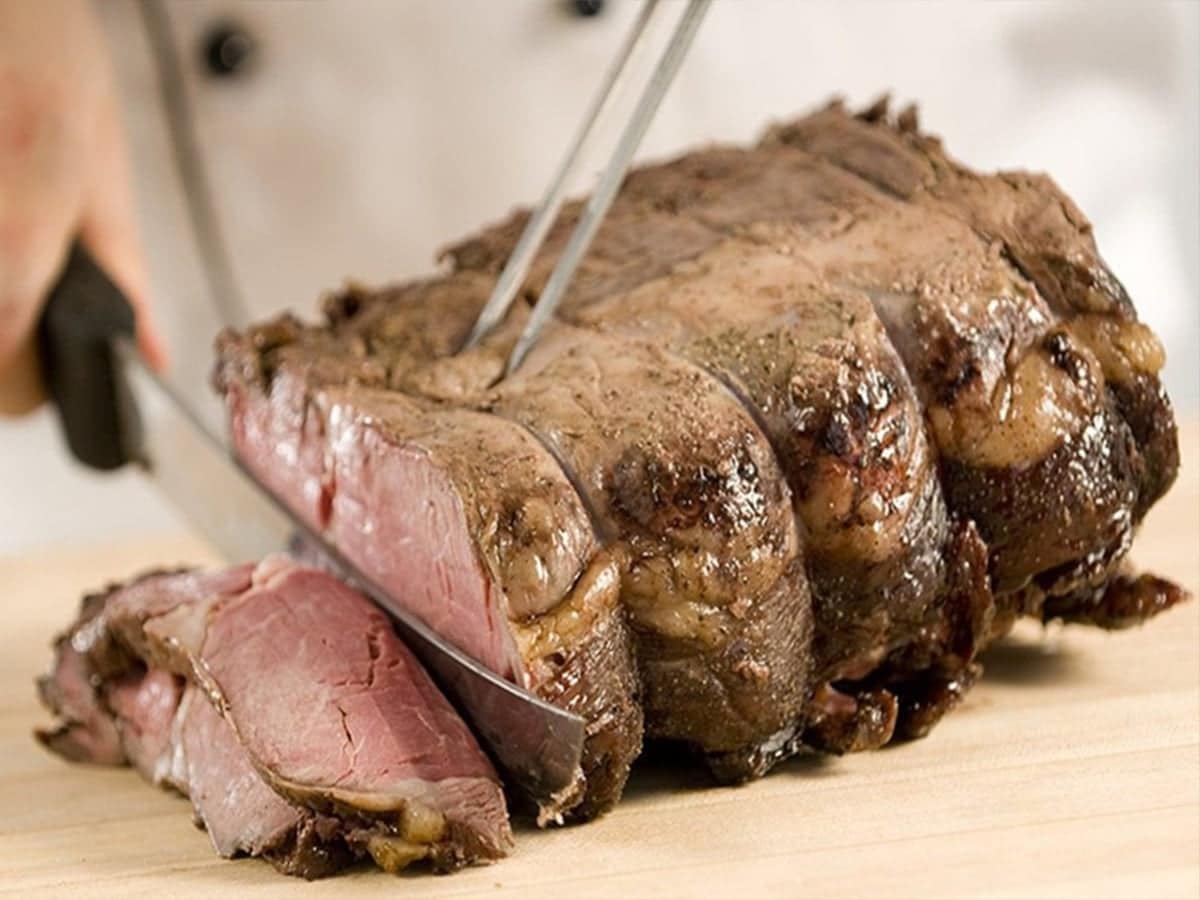
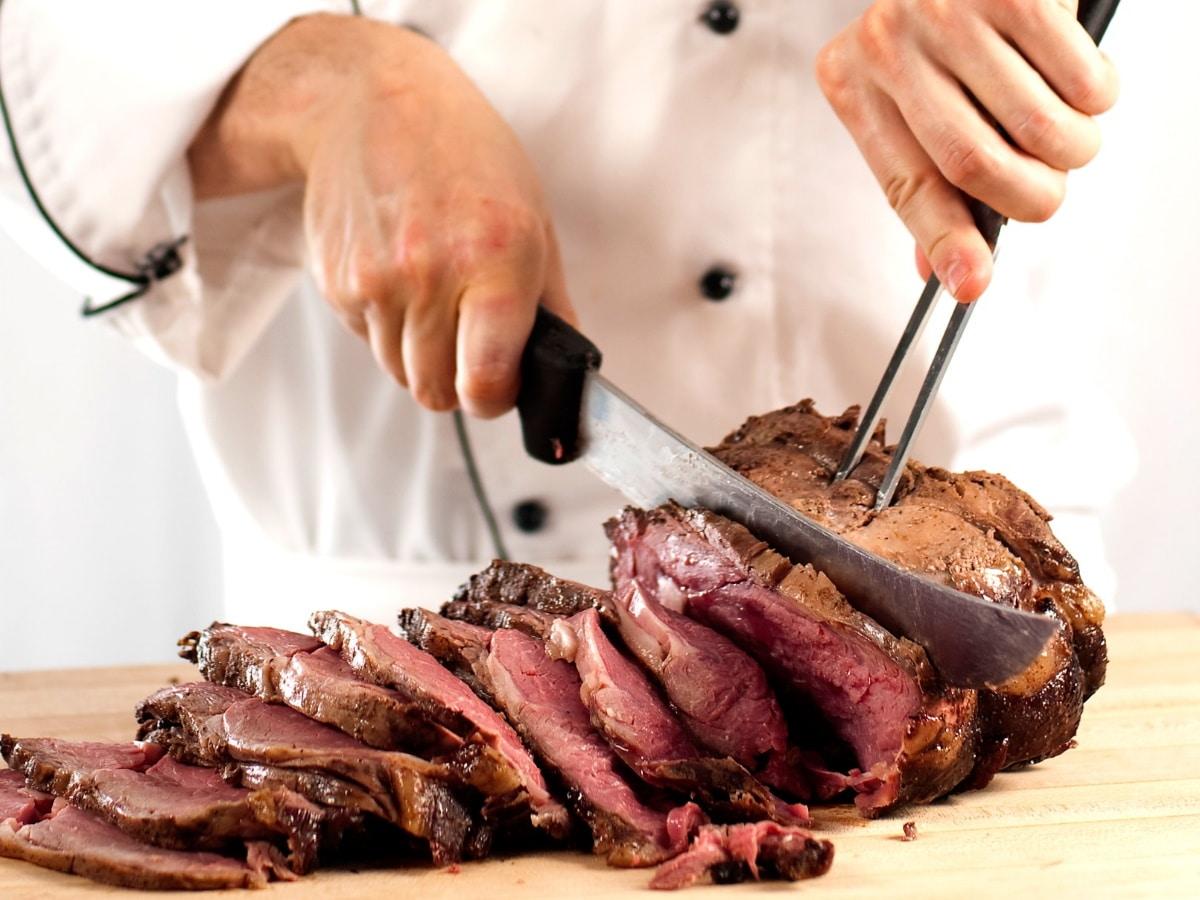
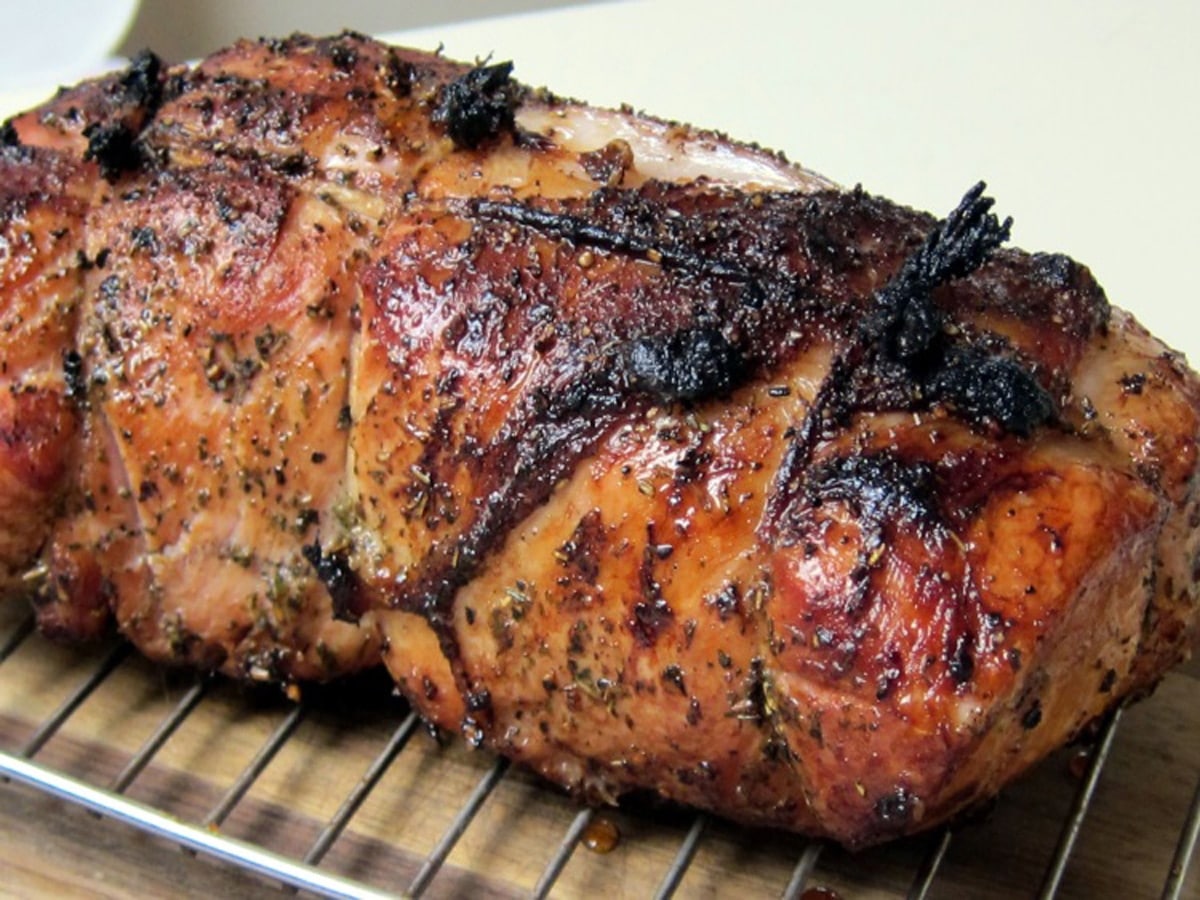
At long last, it’s time to carve into that juicy roast. Naturally, you’ll need a proper set of tools, namely a carving fork and sharp carving knife (or an electric carving knife). Using the carving fork to keep the meat steady, take the carving knife and slice into the meat. Notice how we said slice–not saw–meaning the movement should be as graceful and uninterrupted as possible. Be sure to use the entire carving blade, and refrain from applying too much pressure, which can affect texture and ruin the aesthetic. When applicable, you want to cut across the grain, i.e. perpendicular to the muscle fibres. This will increase tenderness and decrease chewiness in each respective slice of meat. If the roast is bound by strings or skewers, be sure to remove them as you go.
After you slice the meat on the cutting board, you can either transfer it to an individual plate or a large serving platter. If possible, you should pre-heat the plate and serving platter to keep the meat warm throughout the meal. Using a spoon, collect the juices from the baking pan and pour them over the meat when they’re on each plate or the serving platter. Then sit back, eat and enjoy.
This article is part of our Good Eating Series.
You’ll also like:
9 Best Steak Restaurants in Melbourne
10 Mouth-Watering Cookbooks For Men Who Love Meat
19 Best Gifts for Foodies
General FAQ
When the meat is finished cooking you should loosely cover it in foil and let it sit out for approximately 15-20 minutes before carving.
If you’re carving at the table and serving the meat from a platter, you should still carve the meat on a cutting board first so as not to scratch your dinnerware. When carving at the table, you should also place the carving board on top of a baking sheet to collect the juices.


Comments
We love hearing from you. or to leave a comment.