


Updated:
Readtime: 6 min
Every product is carefully selected by our editors and experts. If you buy from a link, we may earn a commission. Learn more. For more information on how we test products, click here.
Few things beat a cold pint at the end of a long work week. But with the rising cost of living, a quick session at the pub with your mates can quickly put a dent in your wallet. Before you know it, you’ve spent a small fortune for nothing more than a buzz and a bowl of hot chips.
If you want to dodge high pub prices without giving up quality craft beer, there is an obvious alternative: brewing your own beer at home.
While home brewing can feel intimidating at first, it’s far simpler than it looks once you get the basics down. Best of all, you can recreate almost any beer style or tailor a batch to your exact palate. All it takes is the right gear, a bit of patience, and a dedicated workspace.
Here’s everything you need to know to start brewing beer at home.
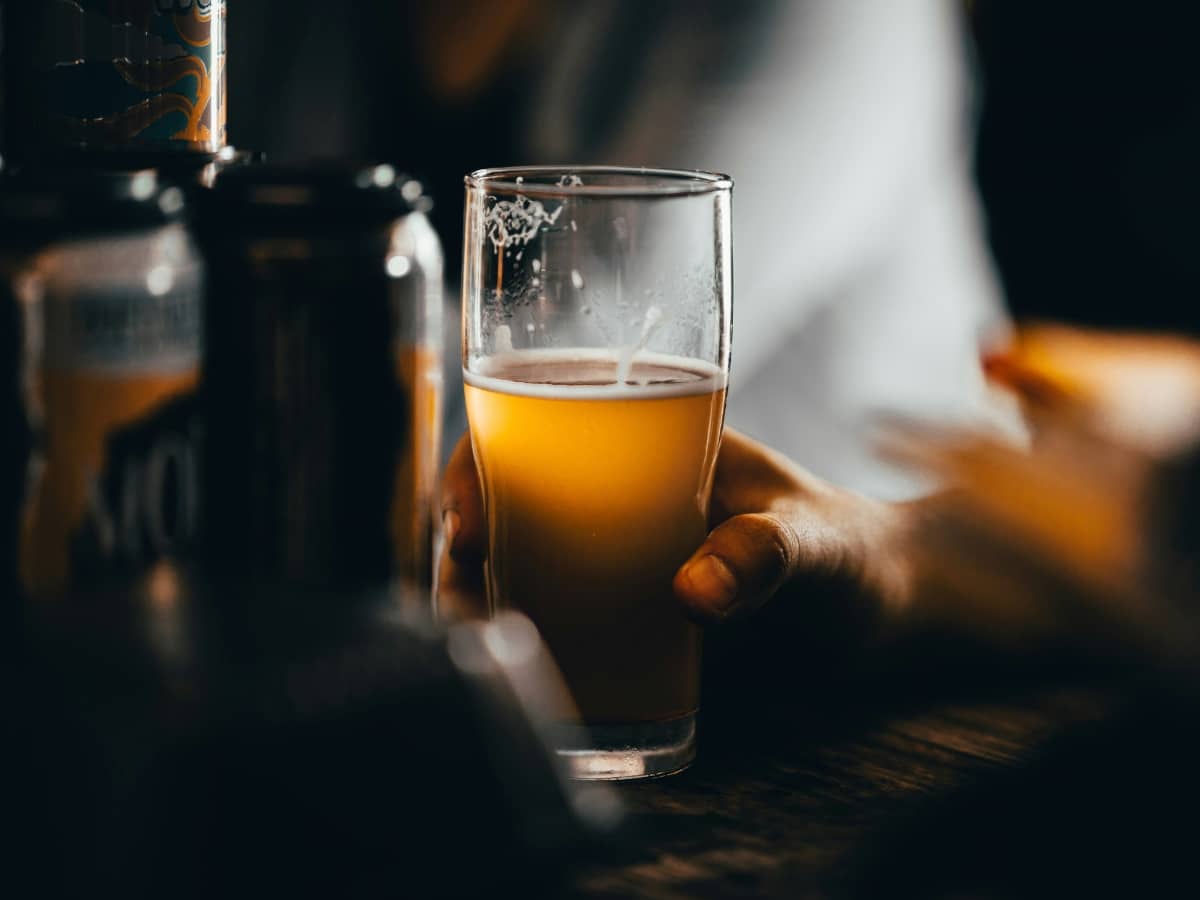
Choosing Your Home Brewing Space
Before buying gear, you need to designate a workspace. Your housemates or partner will not appreciate tripping over fermentation vats on a Tuesday night.
- The kitchen: A great starting point. You get immediate access to a stovetop, running water, and a sink for rapid cooling and sanitisation.
- The garage, shed, or balcony: Ideal as you step up your setup. Using an electric burner or gas burner outdoors or in a garage avoids steaming up the kitchen. These cooler, dark spaces are also perfect for fermentation and ageing.
Essential Homebrew Gear and Equipment
While a fully stocked kitchen has plenty of tools, brewing requires specific hardware. The easiest route for beginners is a complete homebrew starter kit from a local brew shop or hardware store.
If you are sourcing gear individually, here is what you need:
The Basics
- Brewing Kettle: A large stockpot (preferably 30–40 litres) to boil the wort and prevent boil-overs.
- Fermenter: A food-grade plastic bucket or glass carboy where yeast converts sugar into alcohol.
- Airlock and Stopper: A small valve attached to the fermenter that lets carbon dioxide escape while keeping oxygen and wild bacteria out.
Worthy Upgrades
- No-Rinse Sanitiser: Non-negotiable for keeping equipment sterile and preventing off-flavours.
- Floating Thermometer: Essential for tracking temperatures during the mash and yeast pitch.
- Food-Grade Tubing & Siphon: For transferring liquid cleanly between vessels.
- Hydrometer: Measures sugar density (specific gravity) so you can calculate your final ABV.
- Bottles, Caps & Capper: Clean 375ml or 500ml glass bottles, crown seals, and a hand capper to bottle your batch.
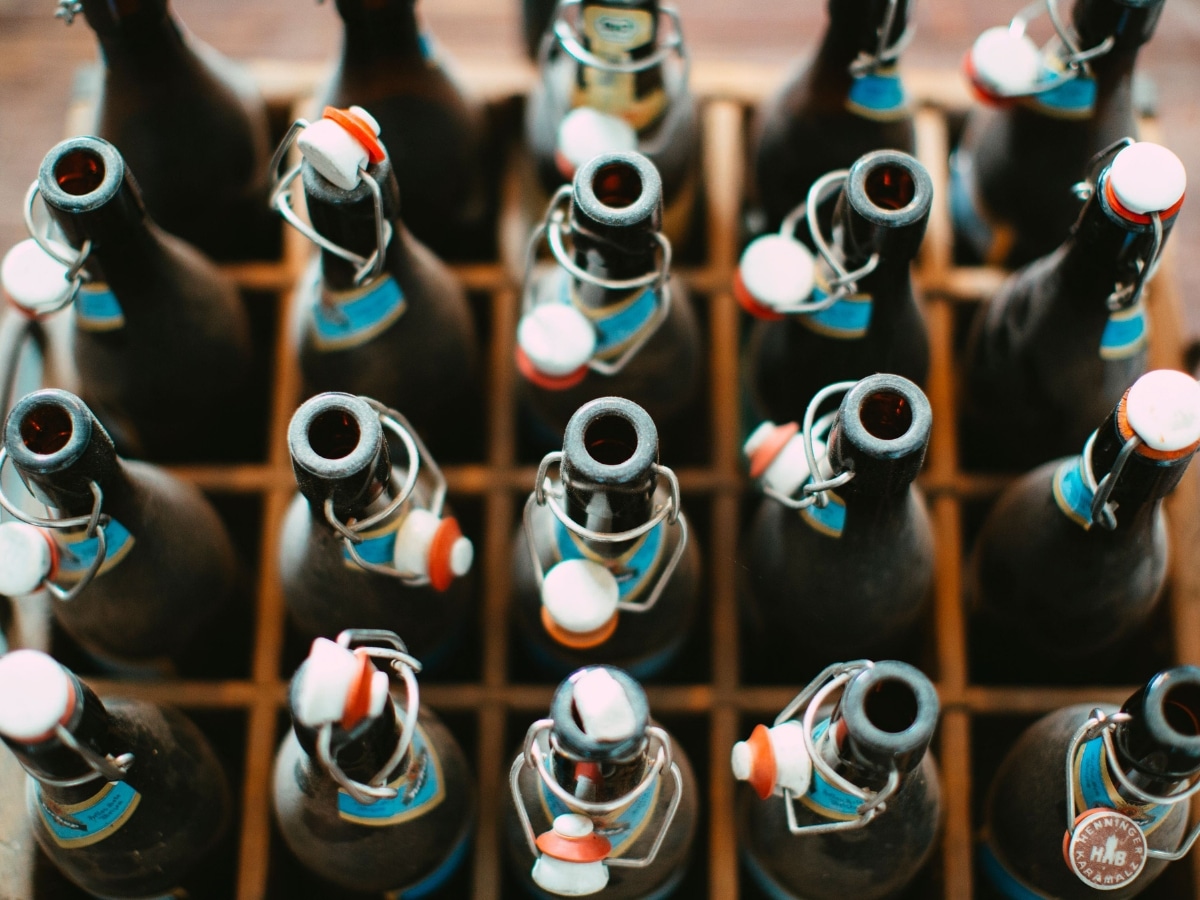
Essential Home Brew Beer Ingredients
Every great beer relies on four primary ingredients:
- Water: High-quality filtered water makes a noticeable difference to the final product.
- Malted Grains or Malt Extract: Provides the fermentable sugars needed for alcohol production.
- Yeast: Converts grain sugars into alcohol and carbon dioxide while adding character.
- Hops: Added during the boil to balance the sweet malt with bitterness, aroma, and flavour.
For your first batch, a pre-packaged recipe kit matching your target style (such as an IPA, Pale Ale, or Pilsner) ensures you get the exact ratios required.
How to Brew Beer in 6 Simple Steps
While brewing techniques grow more complex over time, the foundational process follows six clear stages:
- Sanitise Everything: Thoroughly clean and sanitise all equipment that will touch your beer after the boil. Contamination is the number one cause of bad homebrew.
- Mash and Boil: Steep your grains in hot water, stir in your malt extract, and bring the liquid (now called wort) to a boil.
- Add Hops: Introduce hops at designated intervals during the boil according to your recipe to build bitterness and aroma.
- Chill the Wort: Quickly cool the hot wort down to room temperature (~20°C). You can do this by sitting your kettle in an ice bath in the sink.
- Pitch Yeast & Ferment: Transfer the cooled wort into your sanitised fermenter, pitch your yeast, seal the lid, and attach the airlock. Store it in a cool, dark place for 7 to 14 days.
- Bottle and Condition: Siphon the fermented beer into clean bottles, add a small dose of priming sugar for natural carbonation, and cap them securely.
Time to Enjoy
Leave your bottled beer to rest in a cool spot for at least a week – two weeks is even better – to carbonate properly. Once conditioned, move them to the fridge to chill.
A standard 19-litre (5-gallon) batch yields roughly 45 to 50 stubbies (375ml bottles)—more than enough to stock your fridge for a few weekends or share with mates.
If the batch turns out crisp, balanced, and refreshing, you’ll save a fortune on retail craft six-packs. And if your mates claim it tastes like petrol? That just leaves more for you while you clean your gear and prep the next recipe.
A basic homebrew starter kit in Australia generally costs between $80 and $150, which typically includes a fermenter, airlock, thermometer, and basic bottling gear. Factoring in your initial ingredient kit (around $30 to $50 per batch), your first 19L batch works out to roughly $2 to $3 per 375ml stubbie. Costs drop significantly on future brews once you own the equipment.
Yes, significantly. A typical commercial craft six-pack costs anywhere from $25 to $40 in Australia due to alcohol excise taxes. Once you cover the upfront equipment cost, brewing a 19L batch (about 45 to 50 stubbies) costs around $30 to $50 in raw ingredients, bringing the price down to under $1 per bottle.
The full process takes roughly three to four weeks. Brew day itself takes about three to four hours. After that, fermentation takes 7 to 14 days in the vat, followed by another 10 to 14 days of bottle conditioning for the beer to carbonate properly in the fridge or cellar.
An Australian Pale Ale, American Amber Ale, or standard Stout are the easiest styles for beginners. These ale styles ferment well at standard room temperatures (18°C to 22°C) and are far more forgiving of minor temperature fluctuations than delicate lagers or pilsners.
It can, but fresh homebrew often rivals or even beats commercial beer. Pub tap beer is pasteurised, filtered, and carbonated with forced gas, giving it a very specific mouthfeel. Homebrew naturally carbonates in the bottle, which often results in a smoother finish and fuller flavour profile. As long as your gear is thoroughly sanitised and your temperature is controlled, your homebrew will taste like a genuine fresh craft beer rather than a cheap commercial substitute.


























Comments
We love hearing from you. or to leave a comment.