
Updated:
Readtime: 5 min
Every product is carefully selected by our editors and experts. If you buy from a link, we may earn a commission. Learn more. For more information on how we test products, click here.
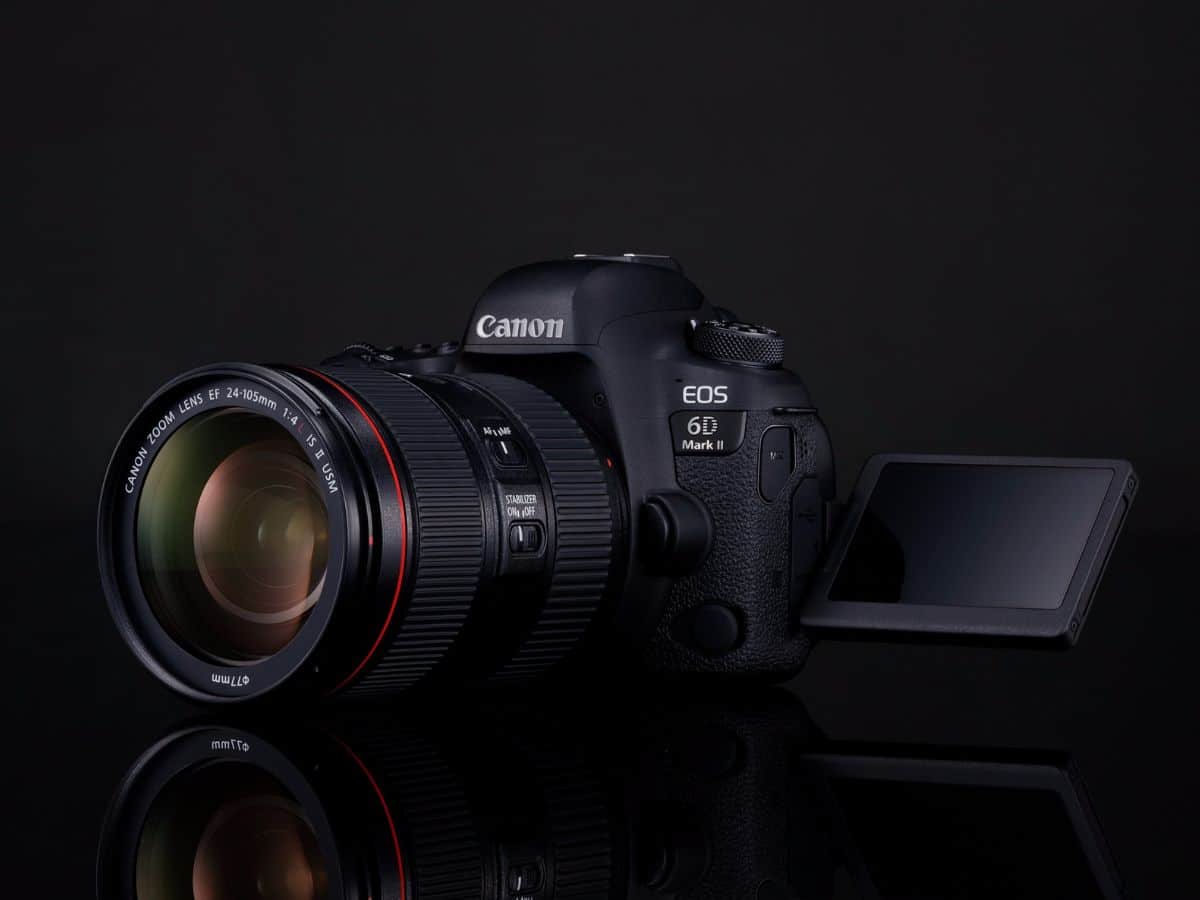
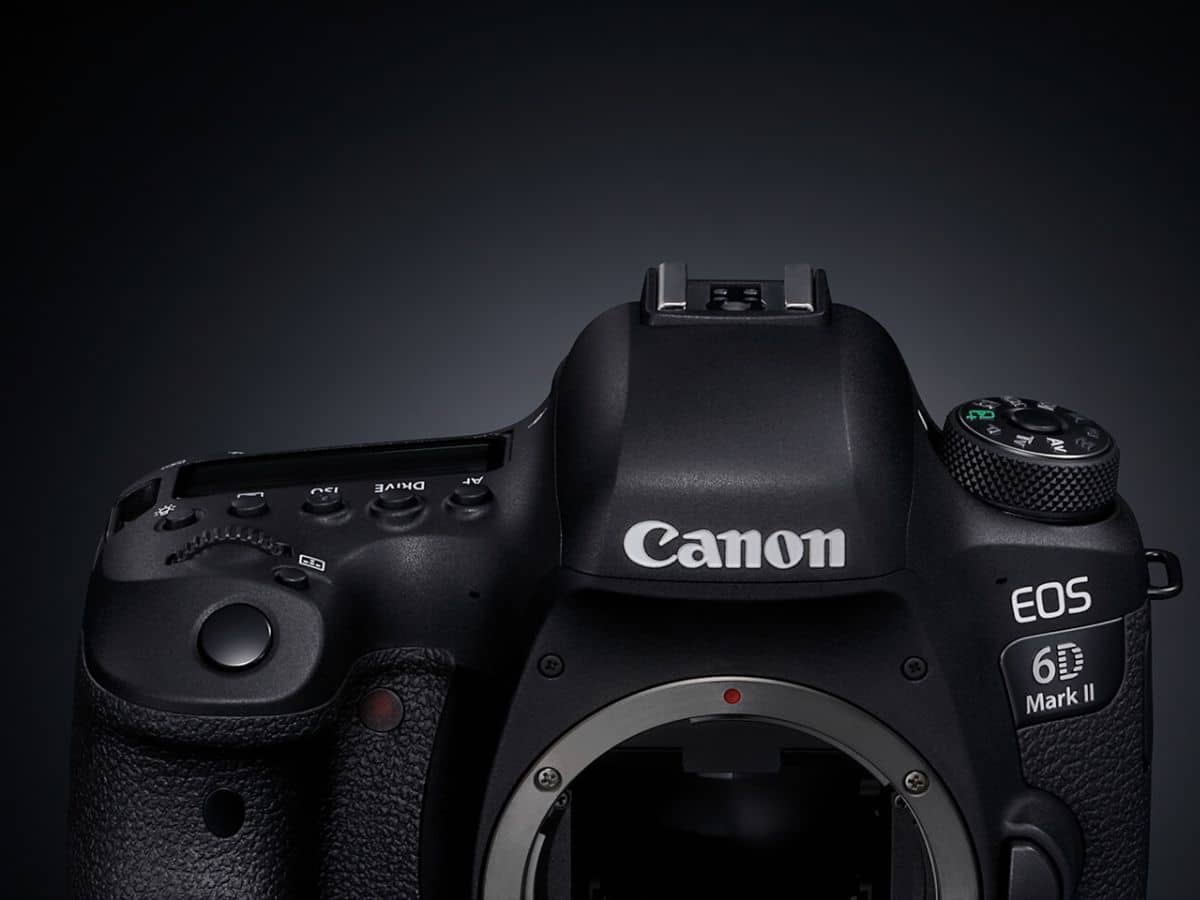
To celebrate the launch of Canon’s EOS 6D Mark II camera designed for adventure photographers, the leading brand partnered with photographer Matthew Vandeputte to create an astrophotography masterpiece to show the 6D Mark II’s full potential. Canon is often asked questions about astrophotography via its Facebook, so they left it up to Vandeputte to share some tips on how to create the perfect astrophotography timelapse.
What are the basics of Astrophotography?
Firstly, make sure the sky above you is dark enough. You need to remove yourself from areas with light pollution—i.e. cities—and make sure there’s no moon around.
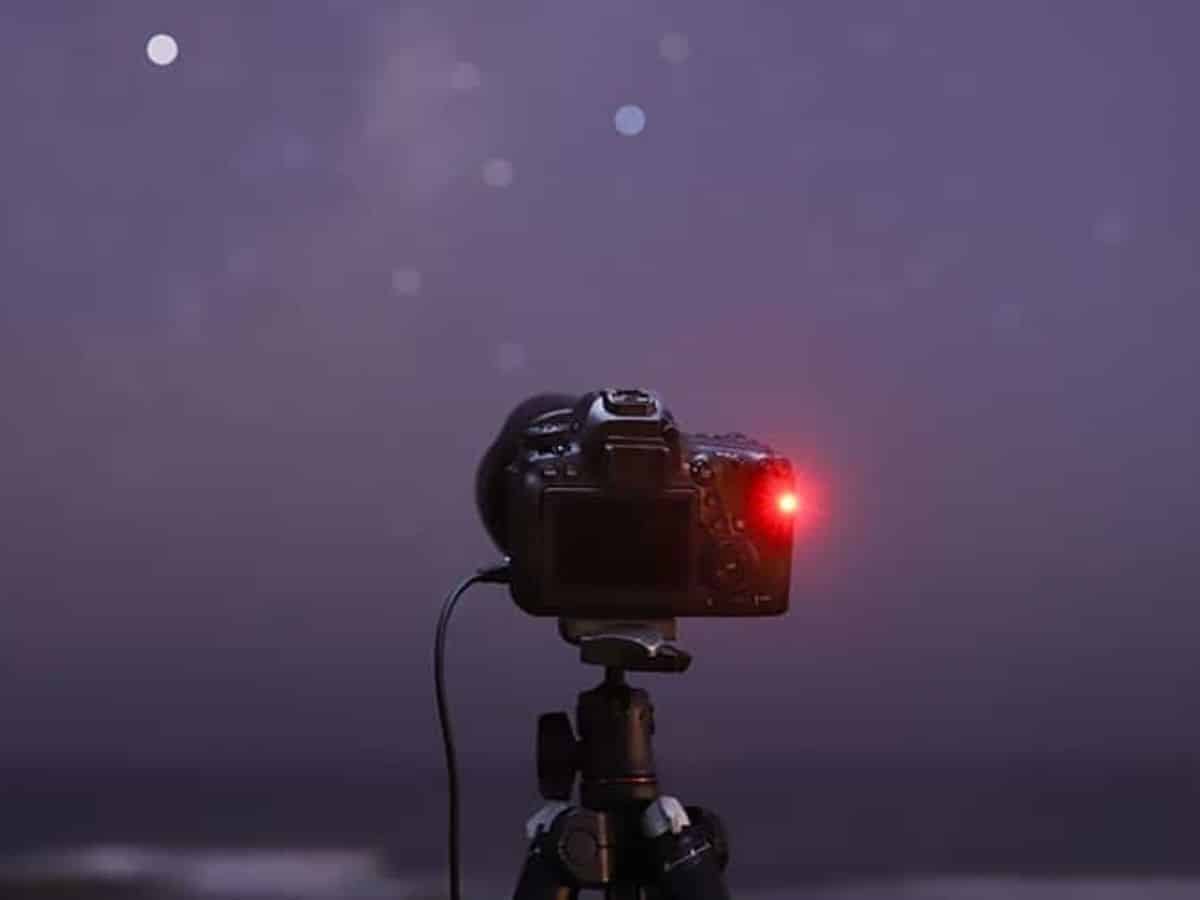
You also need a sturdy tripod, a fast lens and a remote shutter release. If you don’t have a remote, you can use a delayed shutter to minimise camera shake instead. If your lens has image stabilisation turn that off before shooting. Use live view to zoom into the stars and manually focus to make sure your output is sharp.
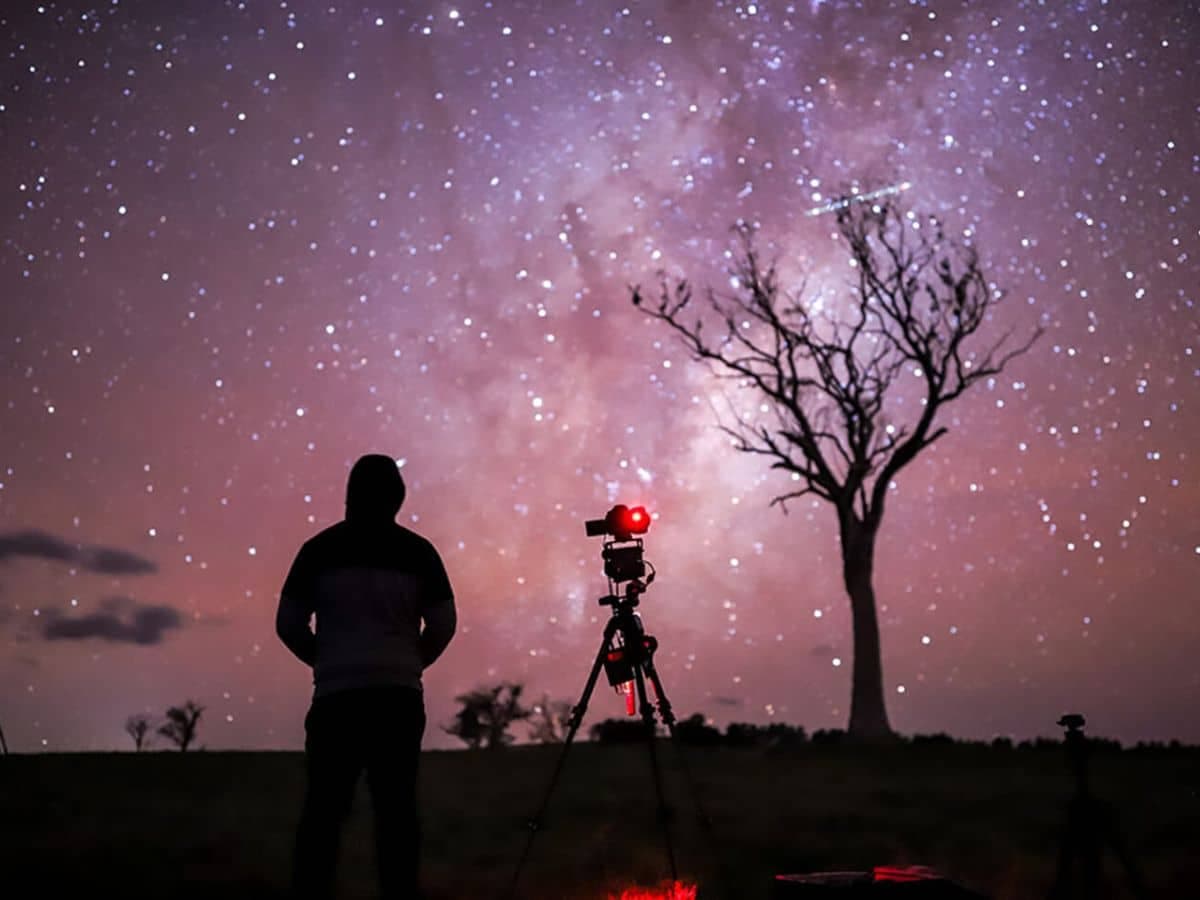
To bring some additional interest to your image try adding some visual elements to your foreground. I look for spectacular trees to use as silhouettes. You can also add a human element to the frame, and by using a flashlight, you can add some light painting elements.
What gear do you use for Astrophotography?
Sturdy tripods are a must, a range of fast lenses too, motion control equipment and usually more than one camera. You’re better of shooting two sequences at the same time!
For the Astrophotography time-lapse I created for the EOS 6D Mark II launch I opted to use ultra-wide to medium focal lengths. I used new release Canon lenses because I know they perform extremely well ‘wide open’—the biggest possible aperture opening, to let in the maximum amount of light. I wanted different focal lengths to set up different views of the Milky Way at the same time. A shot at 16mm looks vastly different to one at 35mm.
I used the new EF 16-35mm f2.8L III and EF 35mm f1.4L II. Both are tack sharp from side to side, with next to no aberration visible in the images. After borrowing both these lenses for this project I’m looking at purchasing them myself. I also used the older EF 24mm f1.4L II, which has slight ‘coma’ at the edges when shooting wide open, but still performs very well for Astrophotography.
What camera settings do you use for Astrophotography?
There’s no one-size-fits-all approach. It depends on the conditions you’re shooting in. I use manual mode, an aperture of f/2.8—or wider if I can—around 20 seconds exposure, with ISO 6400. This should give you lots of stars in your shot. I usually set my white balance to fluorescent, and then do colour grading later in post processing.
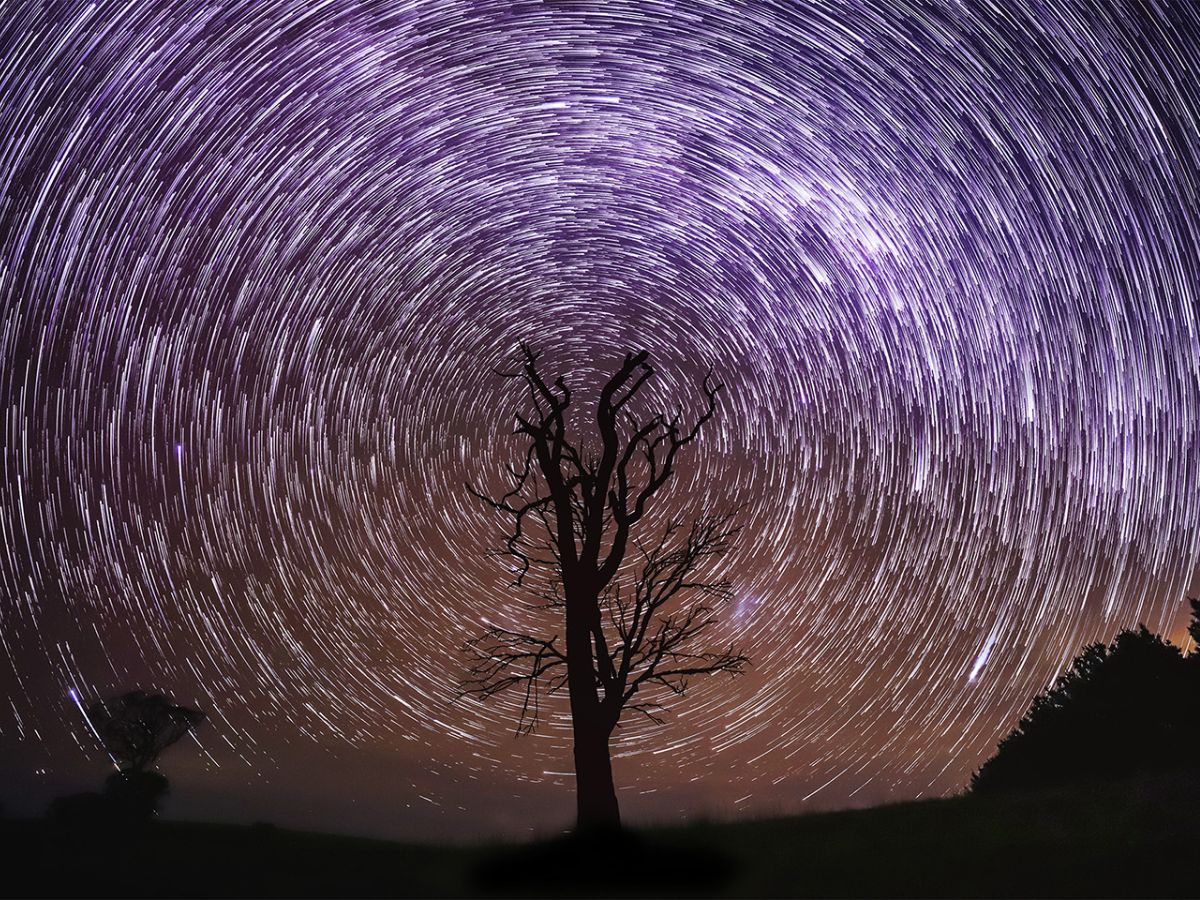
Keep the ‘500 rule’ in mind. The longer your focal length, the faster you will get small trails of light, instead of pin sharp stars. This is because of the Earth’s rotation. Your focal length divided by 500 is—in theory—your maximum exposure time. For example on a 24mm lens, the ideal exposure time for sharp stars would be 500/24, approximately 21 seconds.

What camera settings do you use for Astrophotography time-lapses?
You need lots of individual images to make up a time-lapse sequence. And because Astrophotography images are long-exposures, you end up with an extremely long sequence to shoot for Astrophotography time-lapses. I recommend shooting at least 250 photos per sequence, which will result in 10 seconds of video footage at 25 frames per second.
Always add a three second buffer between stills to make sure you don’t miss any shots in the sequence, which would result in little jumps in the footage. Adding the three-second buffer gives us 18 seconds per photo. Repeated 250 times gives us 4,500 seconds, or 1 hour and 15 minutes for the single time-lapse sequence.
For the individual images, start by using the same image settings I mentioned earlier for Astrophotography and tweak as needed. Keeping the stars sharp is one of the hardest parts of Astrophotography.
How do you get the focus right?
There’s a couple of ways to do it. One way is to point the camera at a bright star or the moon, and use the autofocus.
The other is to turn on your live-view, zoom in 10x using the magnify button, and manually focus the lens until the stars in the shot are at their smallest. You’ll notice that focusing to either side of ‘totally in focus’ results in blurry or bokeh-looking stars. The flip screen on the EOS 6D Mark II helps quite a bit with this, as often your camera is not at eye level.
Canon’s EOS 6D Mark II camera is available now and for more photography tips check out Canon Learning and the Canon Collective.
Souce – Canon Images – Canon, Matthew Vandeputte


Comments
We love hearing from you. or to leave a comment.