

Updated:
Readtime: 9 min
The Lowdown:
A wet bar is the single best upgrade you can make to a home built for entertaining. Here's how to design one.
Every product is carefully selected by our editors and experts. If you buy from a link, we may earn a commission. Learn more. For more information on how we test products, click here.
If you consider yourself a serious host and you don’t have a home bar, it’s time to have a hard conversation with yourself. Whether you’re hosting pre-dinner drinks, post-dinner drinks, or a not-so-chill Sunday arvo sesh, a wet bar gives you a dedicated spot to pour, prep, and keep things moving without you having to spend half your time in the kitchen.
And before you picture some sad basement setup from a 1990s reno mag, the modern home bar is truly one of the better-looking things you can add to a house. Below is your guide to what every good wet bar needs, and some design inspiration to get you started.
The Anatomy of a Modern Home Bar: Wet vs. Dry
Before we get into the fun stuff, let’s clear up the basics. A wet bar is essentially a dry bar, but with a sink.
- A wet bar has running water. You can rinse glasses, dump ice, prep garnishes, and clean up without moving.
- A dry bar is essentially a drinks cabinet with a benchtop. It’s perfectly good for storing bottles and looking nice, but the moment you need water or anything else, you’re trekking back to the kitchen.
Related Read: 10 Stylish Man Cave Ideas For the Ultimate In-House Retreat
Home Bar Ideas: The Non-Negotiable Features Every Setup Needs
There’s no single right way to build a home wet bar, and it ultimately comes down to your space, budget, and what you want to use it for. Are you hosting a weekly poker night? Or do you want your home and wet bar to be the dedicated post-dinner hangout space? That said, there are some non-negotiable features of a wet bar.
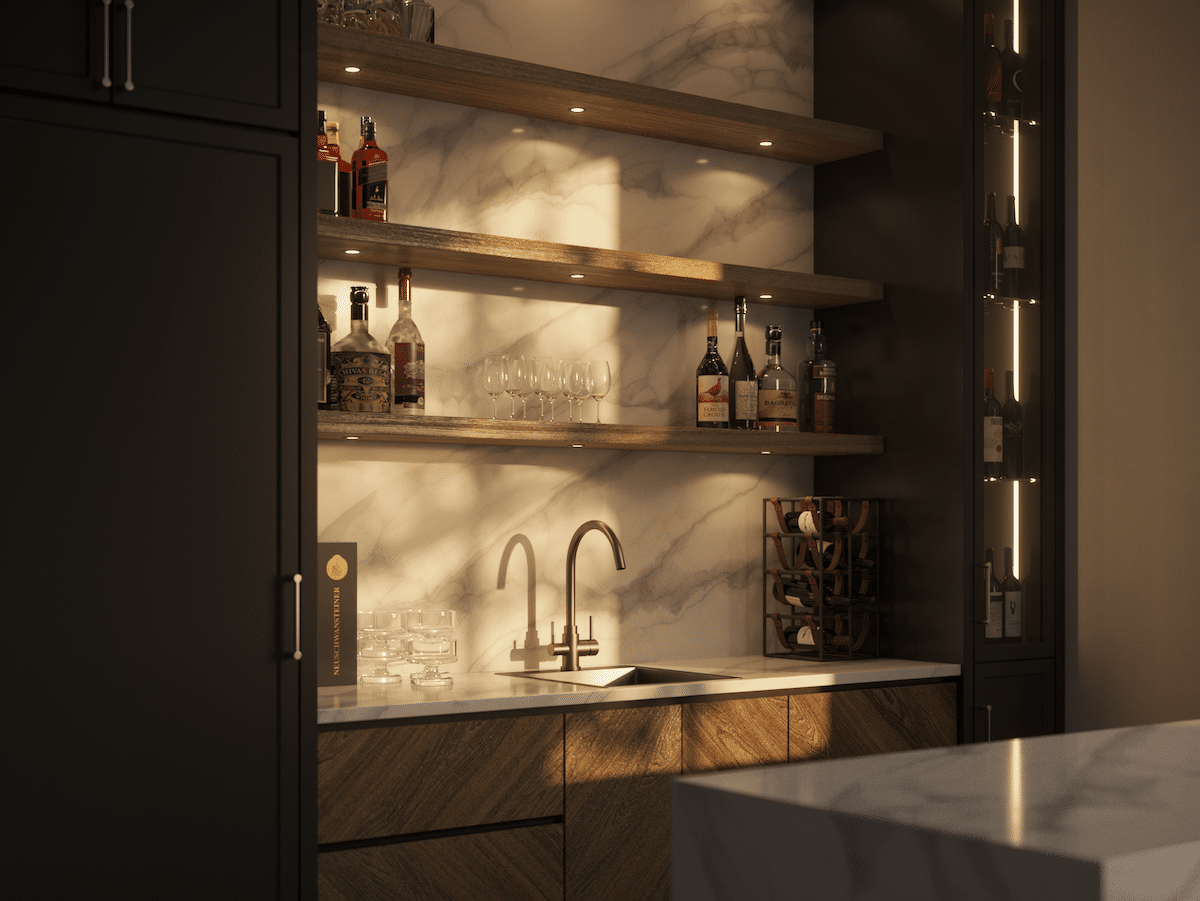
1. The Sink and Tapware
The sink is the functional heart of the whole wet bar, so it’s worth finding the right bar sink. You want something compact (a bar sink typically runs around 380mm x 280mm), deep enough to rinse a tall glass, and has a cool finish that ties the space together.
For something that’s not just basic stainless steel, matte black and brushed gunmetal is a vibe and incredibly on-trend right now. They work against both light stone and dark timber, and they don’t show water marks the way something like polished chrome might. Just make sure you match your sink to your tapware for a cohesive design.
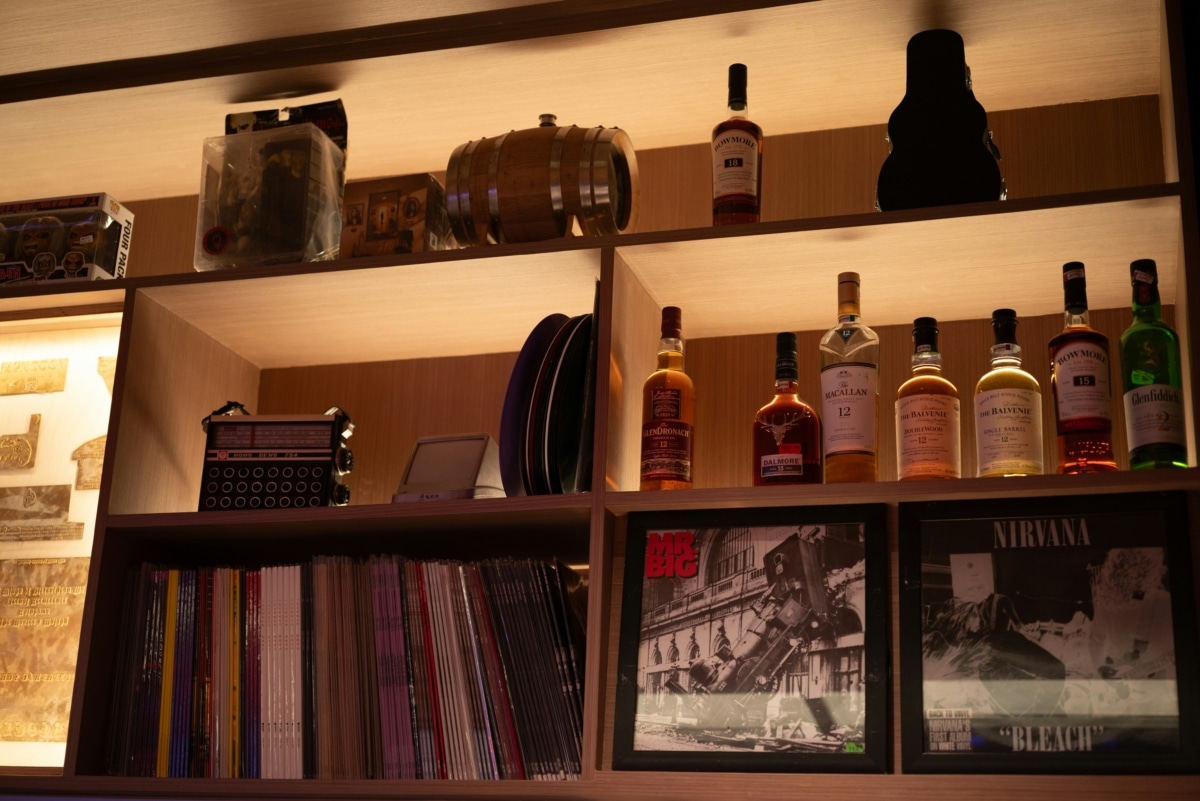
2. Open Shelving and the Backbar
Open shelving is where you get to show off your goods. The backbar is the visual centrepiece so you should treat it like a display (and not a storage solution).
Floating shelves work better than fixed units because they feel lighter and you can adjust spacing as your collection grows. Style them with your best bottles up front, a couple of crystal decanters, and maybe a cocktail book. Don’t overcrowd them though; the gaps are part of the look.
3. Refrigeration
An under-bench fridge is non-negotiable. If wine’s your thing, go dual-zone – one side for reds at around 14 to 18 degrees, one for whites and sparkling at 6 to 10 degrees.
If your focus is more on beer and cocktail prep, a glass-door beverage centre with adjustable shelving handles everything from tall bottles to fresh garnishes.
Either way, make sure it’s integrated into the cabinetry. Nothing kills the look faster than a freestanding bar fridge that looks like it was dragged in from the garage.
You’ll also like: How to Make the Perfect Cocktail at Home
4. Glassware
You don’t need 12 of everything, but having the right glass for the right drink makes a difference, both in how it tastes and how it looks when you hand it over. A set of crystal rock glasses, a few coupes, and some highballs will cover most situations without taking over your entire cabinet.
Related Read: 17 Best Whiskey Glasses to Sip from Right Now
5. Bar Accessories
The space is only half of it. The other half? The right tools. A wet bar stocked with a plastic cocktail shaker and a set of promotional pint glasses isn’t fooling anyone.
The basics worth having:
- Heavy-bottomed mixing glass for spirit-forward cocktails like Martinis and Negronis
- Japanese bar spoon for smooth stirring without cracking the ice
- Boston shaker for anything with citrus or egg whites
- Hawthorne strainer for when you pour
- Precision jigger (15ml/30ml or 30ml/60ml) and a muddler for herbs and fruit
6. Ice
Ice is the most underrated part of a home bar setup. Bad ice dilutes your drinks and looks ordinary in the glass. If you’re serious about the setup, an underbench ice maker is an essential. If that’s out of budget, at minimum, get a dedicated ice bucket and invest in a decent ice mould for larger format cubes. The difference a good ice cube makes in a whisky or a Negroni is immediately obvious.
Related Read: 8 Smart Home Bar Essentials to Take Your Hosting Game Up a Notch
Design Rules to Follow When Building a Home Bar
- Workflow first. Think in three zones: prep (garnishes, cutting board, muddler), mixing (shaker, jigger, glass), and service (where you hand over the drink). If you’re constantly reaching across yourself or turning around to grab something, the layout needs work.
- Layer the lighting. Overhead lighting is functional, but it won’t make your bar feel like a bar. Add under-cabinet LEDs for task lighting, backlit shelving for the bottles, and a pendant or wall sconce for ambience.
- Get the benchtop height right. Standard kitchen benchtops sit at 900mm. A bar benchtop (where people stand and lean) works better at 1050 to 1100mm. If you’re adding bar stools on the guest side, you’re looking at counter height of around 1050mm with 650 to 700mm stools.
- Ventilation. If your wet bar is in a basement or enclosed room, make sure you figure out the ventilation. Stale alcohol and damp bar mats in a poorly ventilated space are not the vibe. A simple exhaust fan connected to the outside is usually enough.
Finding the Perfect Spot for Your New Home Bar Setup
Location is important for both the look and the cost. Wet bars need plumbing, so the closer you are to existing pipes, the cheaper the install will be.
| Location | Pros | Cons |
| Kitchen | Closest to existing plumbing, cheapest install | Can blur the line between bar and kitchen (loses some of the dedicated “bar” feel) |
| Living Room | Central, social, right in the thick of it | Might need new plumbing runs |
| Dining Room | Natural flow from dinner to drinks | Can feel tight in smaller homes |
| Basement / Rumpus Room | Perfect for a full bar setup | Might face hefty plumbing costs |
| Alfresco / Outdoor | Made for Australian summers | Weatherproof materials + complex plumbing |
The golden rule: put it on a wall that shares plumbing with your kitchen, bathroom, or laundry. You’ll save thousands. If you’re doing a full reno, flag it with your builder early so the rough-in happens at the right stage (retrofitting plumbing after the walls are up is an expensive lesson).
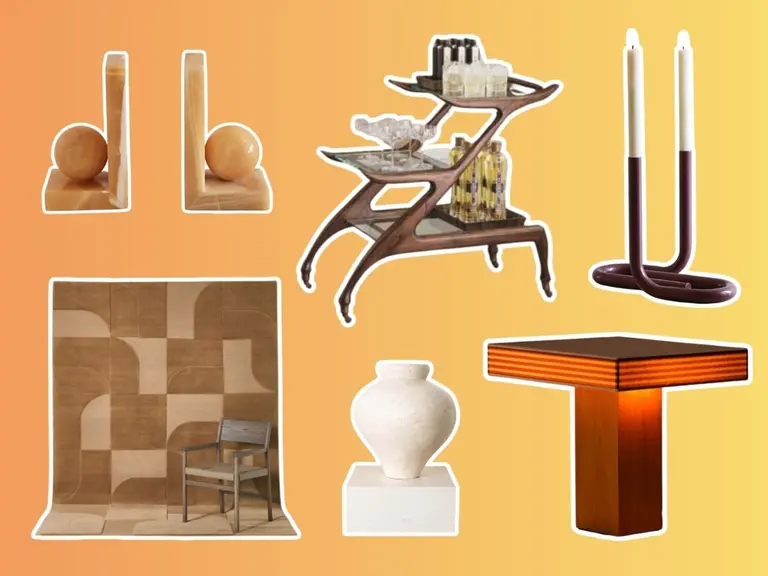
Modern Home Bar Ideas and Design Inspiration
Frequently Asked Questions About Building A Home Bar
You can make it work in as little as 1.2 metres (enough for a compact sink, a small fridge, and a prep area). A comfortable setup is usually around 1.8 to 2.4 metres. Anything over 3 metres and you’re building a big home bar, which is a different project with a very different budget.
Technically yes but plumbing proximity determines the cost. The closer you are to existing pipes, the cheaper it is. Installing one on an interior wall far from any plumbing is doable, but expect the quote to reflect that. It’s a good idea to get a plumber involved before you finalise the location.
It depends heavily on how far you’re pushing the brief. A basic setup with a small sink, under-bench fridge, and open shelving can come in around $3,000 to $6,000 installed, while a mid-range build with custom cabinetry, stone benchtop, and premium tapware will typically land between $8,000 and $15,000. If you want to go full custom with integrated lighting, a wine fridge, and premium finishes, and you’re looking at $20,000 plus. Plumbing is usually the wildcard (if you’re running new pipes to a wall that’s never had them, factor in an extra $1,500 to $3,000 on top of whatever else you’re spending).
Some of it you can absolutely do yourself, like the cabinetry, shelving, and styling, if you’re a competent DIYer. Where you’ll need a licensed tradie is the plumbing and electrical work.


Comments
We love hearing from you. or to leave a comment.