

Updated:
Readtime: 13 min
Every product is carefully selected by our editors and experts. If you buy from a link, we may earn a commission. Learn more. For more information on how we test products, click here.
Key points
- Overhead fixtures flatten rooms and kill ambiance; high-end spaces rely on layered, angled lighting instead of raw intensity.
- Choose bulbs with a warm colour temperature between 2700K–3000K and a high Colour Rendering Index of 95+ to prevent a clinical look.
- Build layouts using a three-tier system of indirect ambient light, focused task lighting for work areas, and precise accent light for character.
- Tailor zones by keeping bedrooms strictly warm to protect sleep, and split kitchen lights onto separate circuits for effortless entertaining.
- Group smart bulbs into time-of-day scenes like morning energy and evening wind-down to automate your home’s atmosphere with one tap.
There are two kinds of people in this world. Those who walk into a room and turn on the big light, and those who know better. This article is for both of you (but mostly the first group).
If you’re in the first camp, you’ve probably been on the receiving end of a firm lecture from your partner about why the overhead fluorescent light in your lounge room is not, and will never be, appropriate for a romantic Friday night in. A dimly lit lamp and a good film is a vibe. A blazing ceiling fixture at full intensity is a dentist’s waiting room.
If you’re in the second camp, you get it and you’re already ahead of the game. For the uninitiated: lighting isn’t just on or off. It’s a design system. Once you treat it like one, a room stops feeling like a rental and starts feeling like a cosy sanctuary. If you’ve already invested in luxury home tech or overhauled your living spaces, lighting is the piece that makes all of it land. Here’s how to get it right.
The Technical Specs of Lighting Design: More Than Just Lumens
Before we go into how to light your space properly, we need to talk about the science behind light. Because it’s about so much more than just illuminating a room. Most people buy bulbs based on wattage, but that’s a bit like buying wine based on bottle size. Technically relevant, but not the measure that actually matters.
Kelvin vs. CRI: The Two Metrics You Actually Need to Know
If you’re new to the world of lighting, Kelvin and Cri might sound like a cool couple who go to midnight raves and make their own almond milk. But in the context of lighting, they’re actually two pretty important factors.
What is Kelvin? (And Why Colour Temperature Matters)
Kelvin (K) relates to colour temperature, and essentially tells you whether a light reads as warm or cool. The range that matters for homes sits between 2700K and 5000K. At the warm end (2700K–3000K), light gives off more of an amber candlelight glow, making a room feeling warm and inviting. Move toward 4000K and above and light can feel white and clinical, which works for task-heavy spaces like an office or home studio.
What is CRI? (The Secret to Making Furniture Look Expensive)
I didn’t know what CRI was until I moved a lamp with a cheap bulb next to my timber dining table and wondered why it looked so dull. CRI, also known as Colour Rendering Index is scored out of 100, and measures how accurately a light source renders the true colours of objects compared to natural daylight.
A bulb with a CRI below 80 can make timber look muddy, leather look flat and concrete lose its texture. A higher CRI is what separates a room that looks expensive from one that feels like it’s been lit by a petrol station.
Simply put, when choosing light bulbs for the home, you want to go for around 2700-3000 Kelvins and a CRI of 95 or higher.
Related: 17 Affordable, High-End Homewares That Only Look Expensive

The Problem With the ‘Big Light’ (And How to Fix It)
There’s a very specific kind of disappointment that comes from furnishing an entire room with carefully curated pieces, only to turn on the light and watch it transform into an office reception area. I experienced this when I lived in a beautiful art deco apartment that felt inexplicably flat the moment the sun went down. One harsh pendant, positioned directly above the centre of the room, was the culprit.
Overhead lights project light straight down onto horizontal surfaces, leaving vertical planes (walls, faces, cabinetry) almost entirely in shadow. The result is a room that feels both flat and harsh, regardless of what’s in it. It’s also genuinely unflattering on people. If you’ve ever looked at yourself in an elevator mirror and thought “yikes”, the overhead light is probably to blame.
The solution isn’t more light. It’s light from the right angles, in the right layers.
The Three-Tier Rule for Mastering Lighting Layouts
Think of a well-lit room the way you’d think of a well-dressed person. There’s a base, a functional layer, and something that adds personality. Each one does a different job, and none of them work without the others.
Step 1: Ambient Lighting – The Foundation
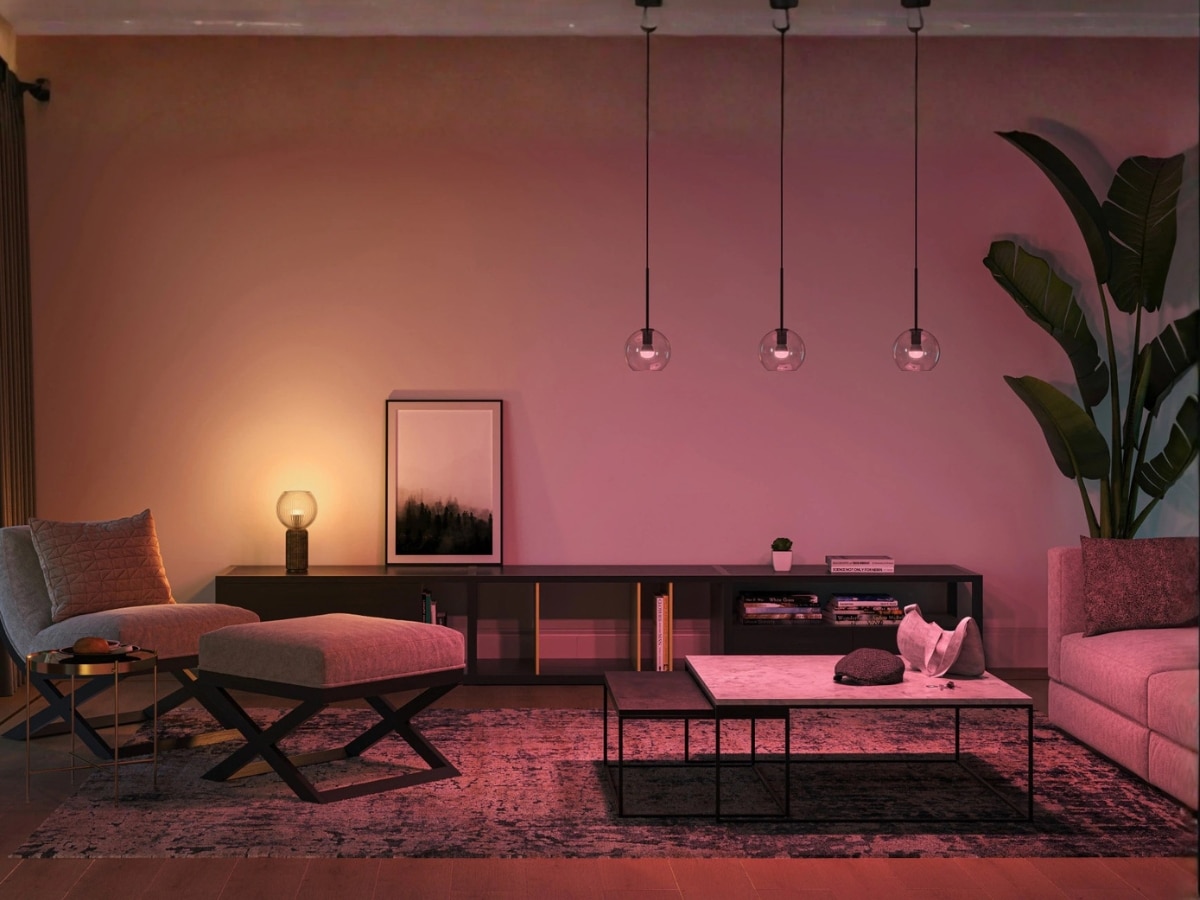
Ambient light is the warm, cosy hug you need after a long day in the office. Its gentle, indirect glow replaces natural daylight once the sun goes down. The goal here isn’t brightness, it’s distribution.
Architecturally, this means wall-washing (directing light up or across a wall to bounce it softly back into the room), dimmed recessed downlights positioned near walls rather than in the centre of the ceiling, and coffered or coved lighting that lets the ceiling become the light source.
Step 2: Task Lighting – The Execution
Moving away from mood lighting, task lighting is all about focused, directional light positioned where work actually happens.
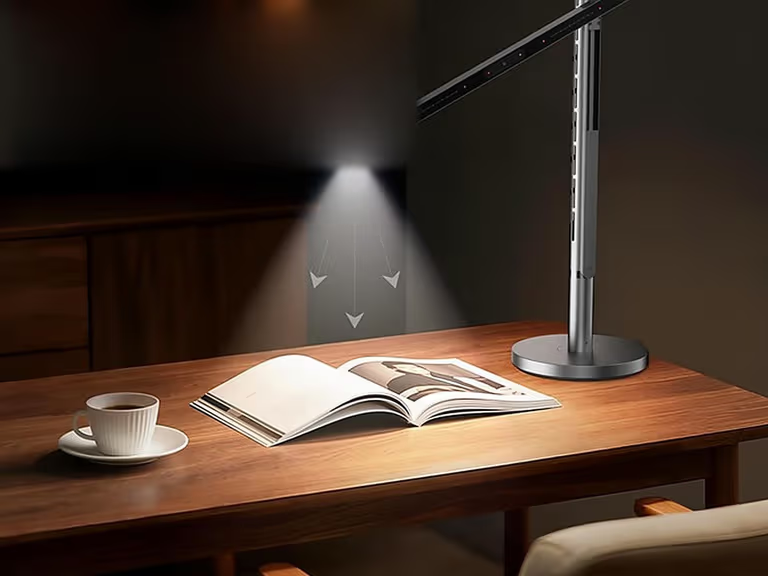
In the kitchen, underbench downlights should sit towards the front edge of the overhead cabinetry. Move them too far back and you’re cooking in your own shadow. For a reading nook or desk, the light source should come from beside or slightly in front of you, never above or behind.
When it comes to the bathroom, ask anyone who does their own makeup or has a decent skincare routine in there and they’ll tell you overhead downlights are a nightmare. Instead, side-mounted sconces at face height work best, or a LED strip lighting behind or around a mirror. A backlit mirror throws soft, diffused light forward and outward, which is both more flattering and more functional than anything coming from the ceiling.
Step 3: Accent Lighting – The Character
Beyond your classic lighting options, there’s a layer that can really separate a designed room from a decorated one.
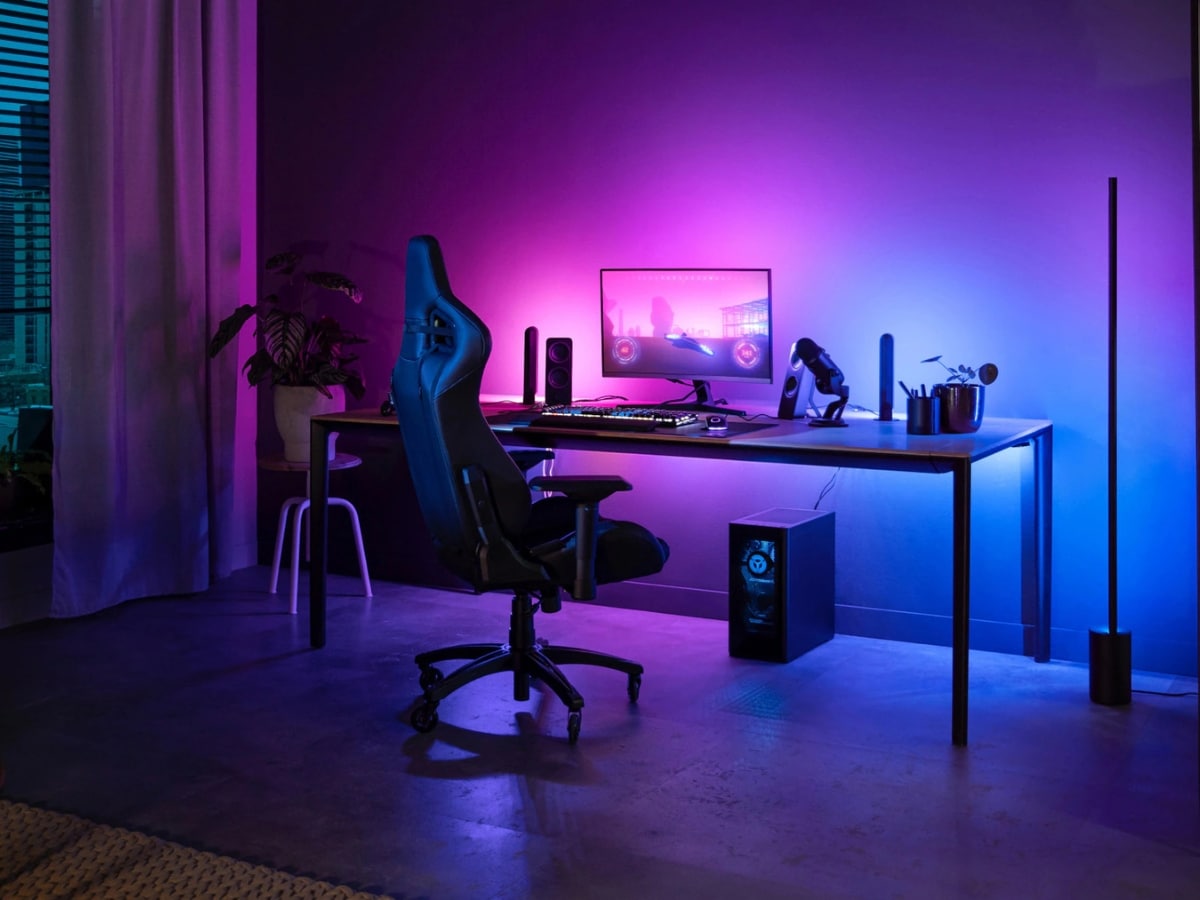
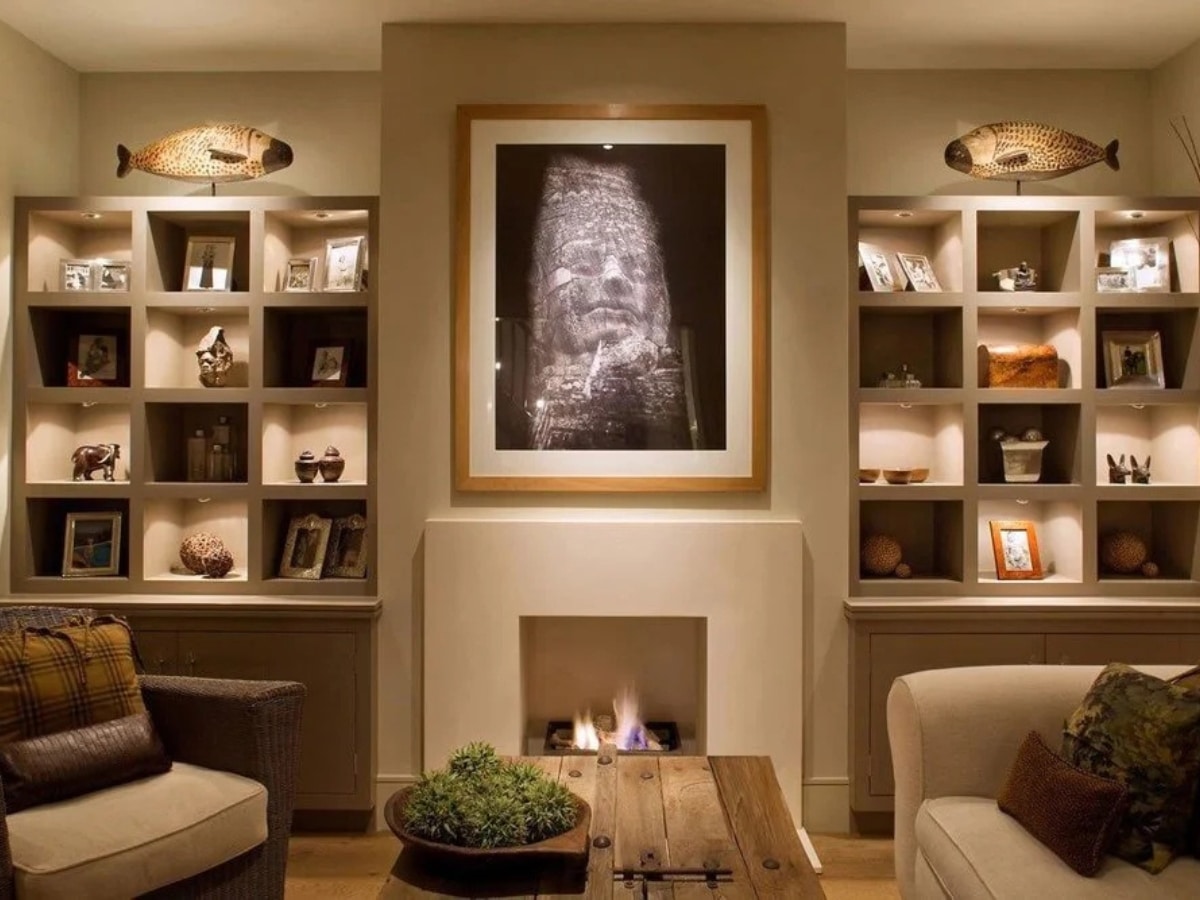
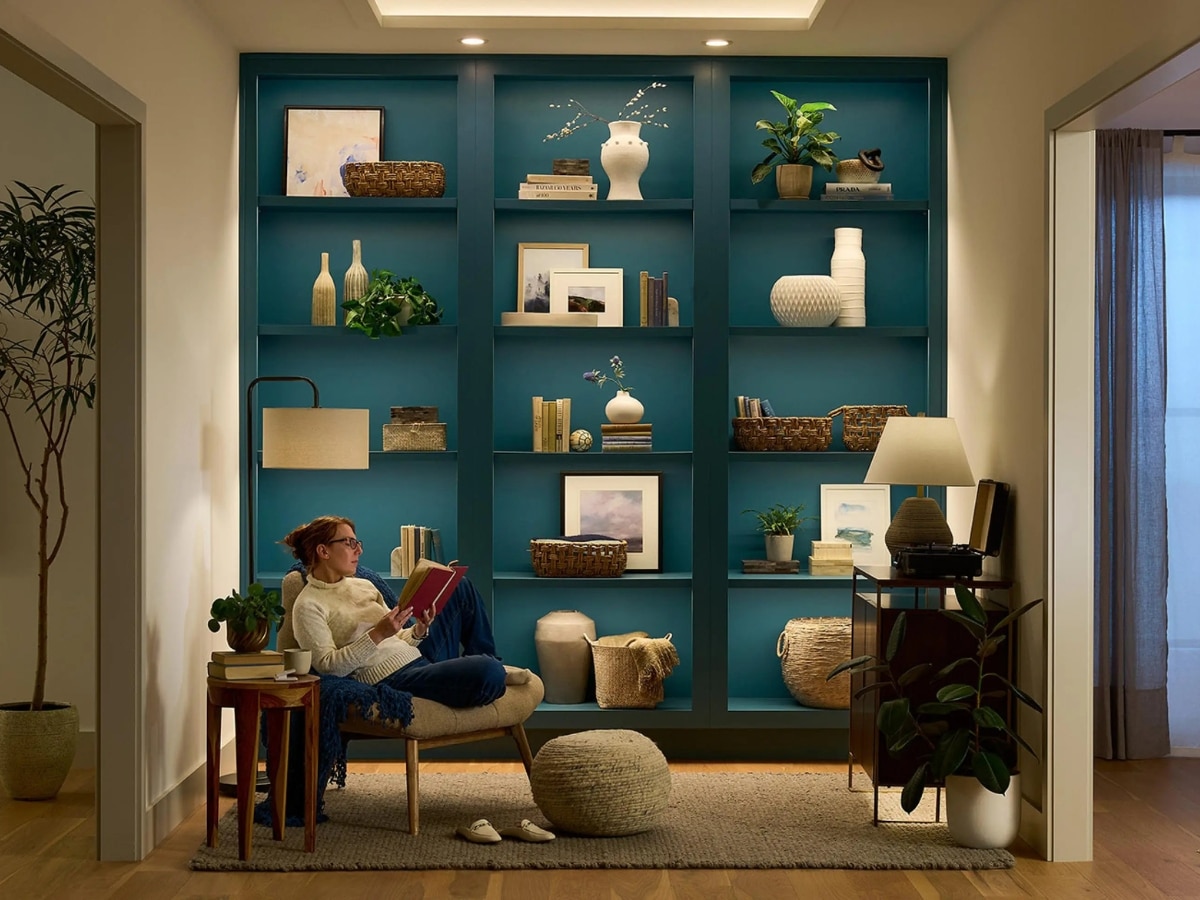
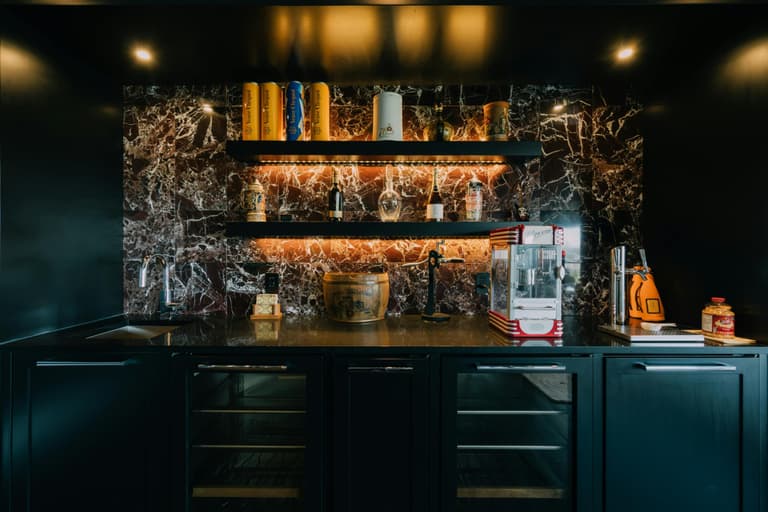
Accent lighting is about guiding the eye towards a piece that deserves attention. Think a small, directional downlight highlighting a piece of wall art or an LED strip tucked behind a floating shelf. Or if you’re feeling fancy, you could mount a wall sconce on a textured surface or on either side of your bed head.
The goal is contrast: a well-placed accent light creates a pool of brightness that makes the surrounding area feel darker and more intimate. Perhaps the next addition to your man cave?
The Blueprint: A Room-by-Room Guide to Home Lighting
The principles above apply everywhere, but the execution changes depending on how a room is used.
| Room | Target Kelvin | Minimum CRI | Primary Lighting Type | Rule of Thumb |
| Living Room | 2700K – 3000K | 90+ (95+ preferred) | Ambient & Accent | Keep light sources at eye level or lower using lamps and sconces; never center a lone downlight. |
| Kitchen | 3000K – 3500K | 95+ | Task | Put your meal prep lights and island pendants on separate dimmer circuits so you can switch from “chef mode” to hosting. |
| Bedroom | 2200K – 2700K | 90+ | Ambient | Avoid overhead light above the bed entirely; use warm, low-intensity side lamps to protect your sleep cycle. |
| Bathroom | 3000K | 95+ | Task | Ban overhead downlights over the mirror; use side-mounted sconces or backlit LEDs at face height to eliminate harsh facial shadows. |
| Home Office / Studio | 3500K – 4000K | 90+ | Task | Use a slightly cooler, crisper white light to promote alertness, but position desk lamps to the side of screens to prevent glare. |
The Living Room: Creating the Sanctuary
The living room is the equivalent of that mate who’s always up for anything. A boozy Friday night dinner, a Saturday movie night, or a Sunday watching the footy. With such range, your living room lighting needs to be flexible.
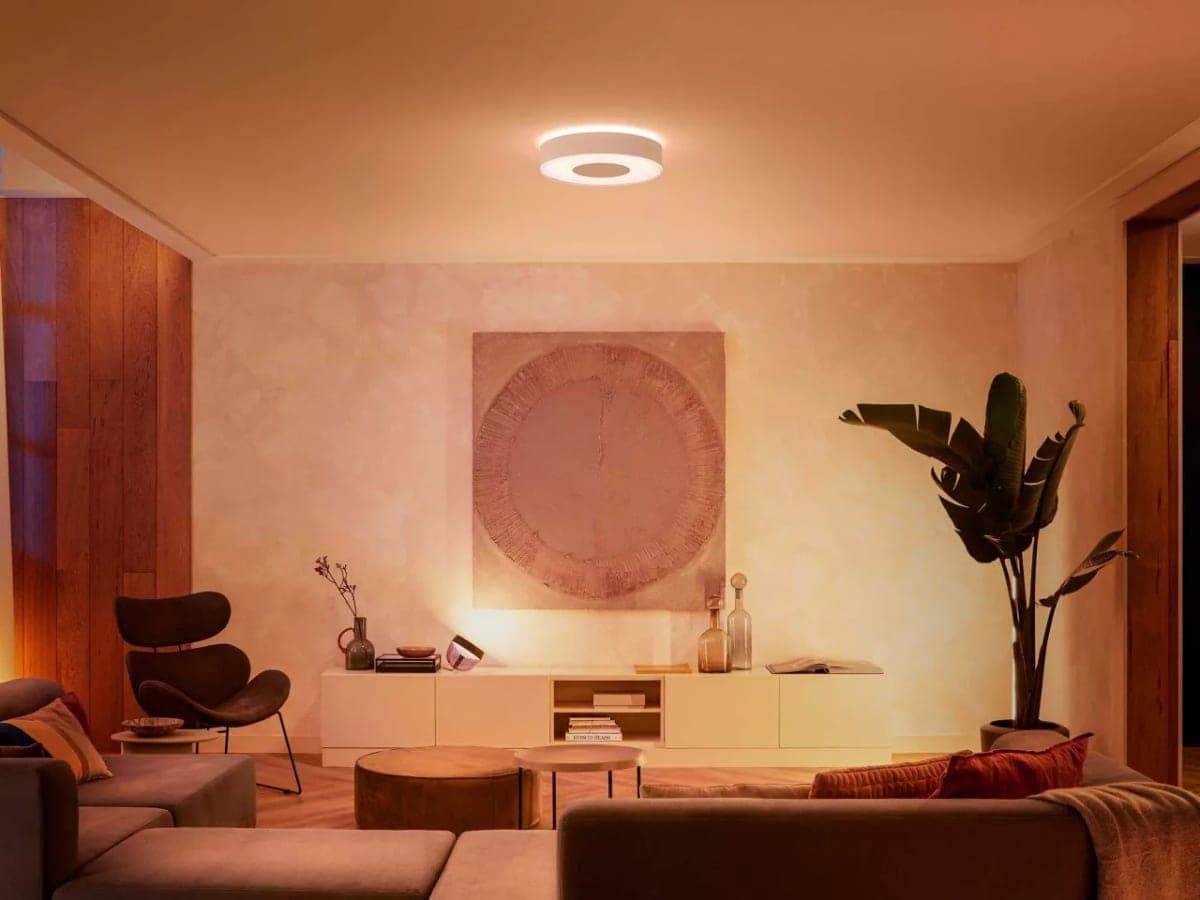
Start by building the ambient layer low. Floor lamps, table lamps and wall sconces all sit at a height that creates warmth rather than overhead glare. Position a floor lamp behind a sofa or beside a chair to push warm light up the wall. Add a dimmed downlight or two near the perimeter (never centred), and layer in accent lighting on any artwork or architectural features.
The target for an evening living room is somewhere between 2700K and 3000K across all sources, with the ability to dim the whole room to around 10–20% for a quieter atmosphere. Masculine living room designs that actually hold up after dark almost always have this in common.
The Kitchen: High-CRI Culinary Workstations
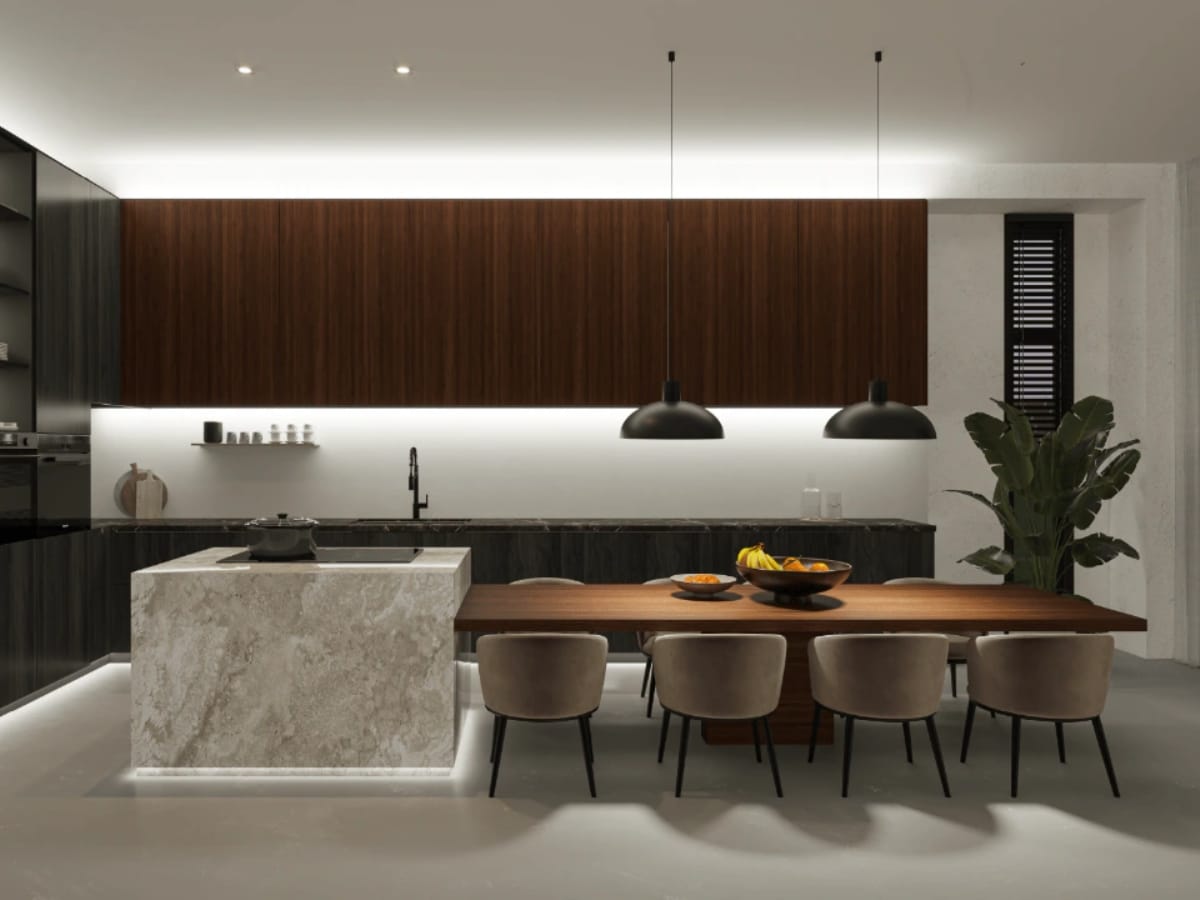
As the heart of the home, kitchens need the most disciplined approach to task lighting. But a common mistake is treating the entire space as a single zone.
A kitchen plays two important, yet very different roles. One channels Masterchef, and requires bright, accurate lighting for meal prep and cooking spaces. No chopped fingers here please. And the other acts as a social and dining-adjacent space that wants the warmth and dimmability of the rest of the home.
If your kitchen has an island, pendant lights above it should be considered ambient-plus, not task lighting. With underbench fittings, just make sure they’re on a separate dimmer circuit to your pendants. The separation of two circuits, independently controlled, is what gives you a kitchen that works for Tuesday night meal prep and an intimate dinner party.
The Bedroom: Circadian-Friendly Low-Kelvin Havens
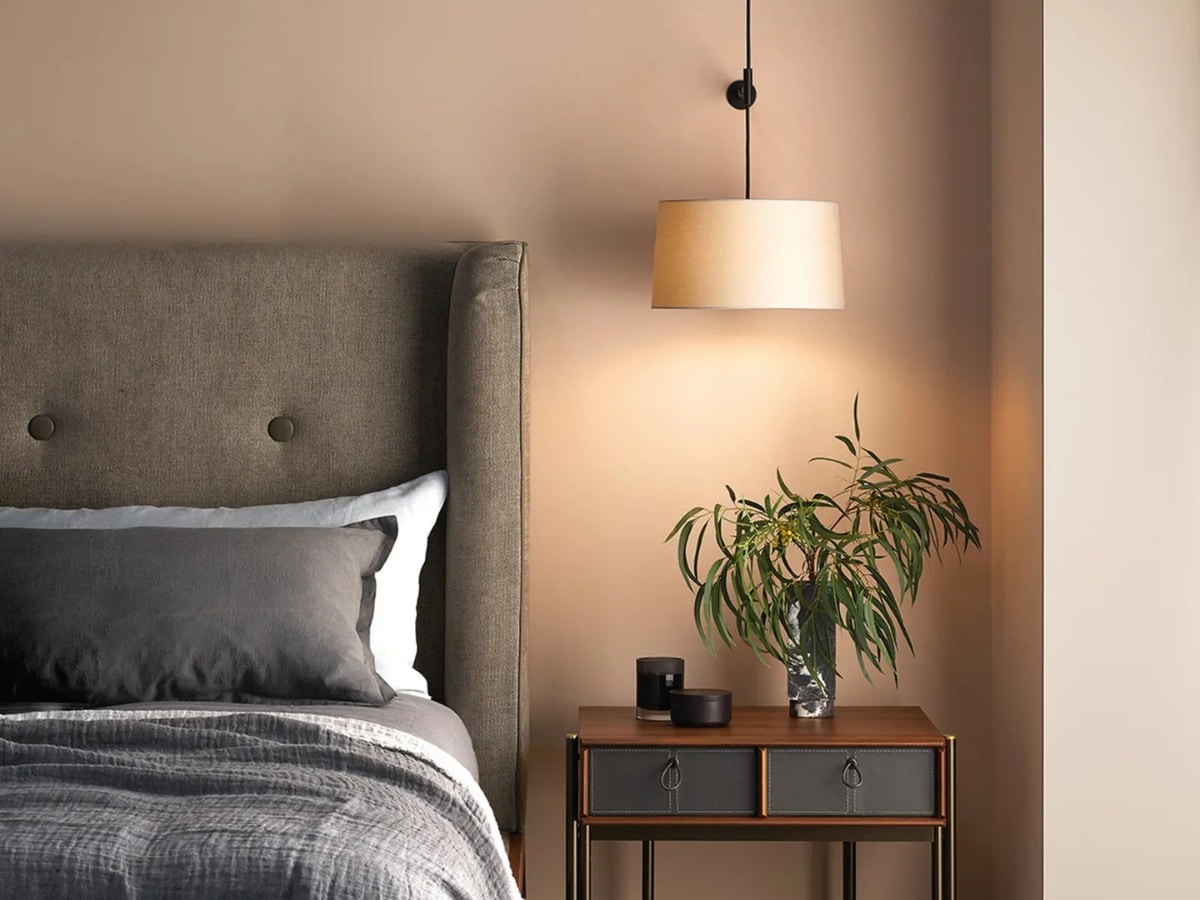
Not to be dramatic, but the bedroom is where getting the lighting wrong can have dire consequences. We all know lack of sleep is considered just as unhealthy as smoking, so your lighting needs to work with you, not against you, here. Avoid cool white or blue-spectrum light in the evening. It suppresses melatonin production and makes sleep harder to come by.
For the bedroom, avoid going higher than 2700K. Warm, amber-toned sources only. Eliminate any overhead downlights above the bed entirely, or ensure they’re on a deep dimmer that allows them to run at 5–10% maximum in the evening. Side-table lamps on separate switches give you independent control and wall sconces bring that high-end hotel feeling.
If you’re looking for more bedroom inspo, check out our men’s bedroom ideas or our guide to the best linen brands.
Smart Home Automation & Maintenance Tips
Getting the layers right is step one. Making them easy to use is step two. Because a perfectly designed lighting scheme that requires six separate switches to activate will never actually get used.
Circuit Segmentation and Dimming Architecture
Every layer in a room should be on its own circuit with its own dimmer. Ambient, task and accent lighting controlled together defeats the purpose of having them at all. This is best resolved at the fit-out or renovation stage, but retrofit smart switches (Caseta by Lutron, DETA Grid Connect Smart Dimmer Mechanism) can add independent dimming to existing circuits without rewiring.
The practical rule: if you can’t dim it independently, it’s not a full lighting system. It’s just a collection of lights.
Smart Integration: Creating One-Touch Scenes
The real value of smart lighting isn’t the novelty of controlling your home from your phone. It’s the ability to bundle multiple circuits into a single scene that shifts the room’s entire atmosphere with one tap.
Systems like Ketra by Lutron or Yeelight Pro can automate colour temperature and brightness across every circuit in your home based on time of day, shifting from a bright, energising 3500K in the morning to a 2700K evening mode by dinner without any manual adjustment. At the more accessible end, Philips Hue’s scene presets and Nanoleaf’s Matter-compatible products let you build the same logic at a fraction of the cost.
The scenes worth building are simple: a morning mode (bright, slightly cooler, full output), a work or daytime mode, an evening mode (warm, dimmed ambient and accent only), and a wind-down mode for the bedroom (near-off, 2700K). Four scenes covers almost every scenario most people actually encounter at home. Once it’s set up, you forget it exists.
If you’re just starting out, don’t try to automate everything at once. Pick one room, get the layers right, and build from there. A single floor lamp on a dimmer will do more for your living room than a $500 smart bulb system you haven’t configured properly. Start small, notice the difference, and you’ll never go back to hitting the big light again.
Common Questions About How To Design Home Lighting
For a relaxed, inviting atmosphere, the best range is between 2700K and 3000K. This provides a warm, amber glow that mimics candlelight and helps your living space feel cosy rather than clinical.
Colour Rendering Index (CRI) measures how accurately a light source reveals the true colours of objects compared to natural daylight. A high CRI of 95 or above ensures your furniture, timber finishes, and decor look vibrant rather than flat or muddy.
Absolutely. If you cannot rewire the walls, focus on plug-in options. Layer your space using smart plug-in dimmers, strategically placed floor lamps to bounce light off the walls, and portable LED light strips tucked behind furniture or shelves.
Overhead “big lights” project light straight down, creating harsh shadows on vertical surfaces like walls and faces. This flattens the architectural character of a room and creates a cold, clinical environment reminiscent of an office.
Stick to warm, low-Kelvin bulbs (no higher than 2700K) and avoid cool white or blue-spectrum light in the evening. This supports your body’s natural circadian rhythm, aiding melatonin production for better sleep.




























Comments
We love hearing from you. or to leave a comment.